Role-play: How to Play
This guide will teach you the basics of interacting with the DreamGen role-play system.
Scenarios
Scenarios represent some story setting / plot and a set of characters that you get to interact with. For example:
- "Frodo in the Shire" — a slice-of-life scenario where you play as Frodo, and interact with other characters from the Shire.
- "Uncovering Dark Mystery" — a scenario where you play as a detective, and investigate some dark mystery.
- "You and Your Cute Girlfriend" ― a scenario where you play as yourself, and interact with a character representing your girlfriend.
Finding a Scenario
You can browse scenarios on the Role-Play page.
Creating a Scenario
For creating your own scenario, see our dedicated scenario creation guide. You can also copy and tweak existing scenarios, which is also a great way to learn the art of scenario creation. Simply find a scenario you would like to copy and tweak, click the vertical ellipsis button and select "Copy".
Starting a Scenario
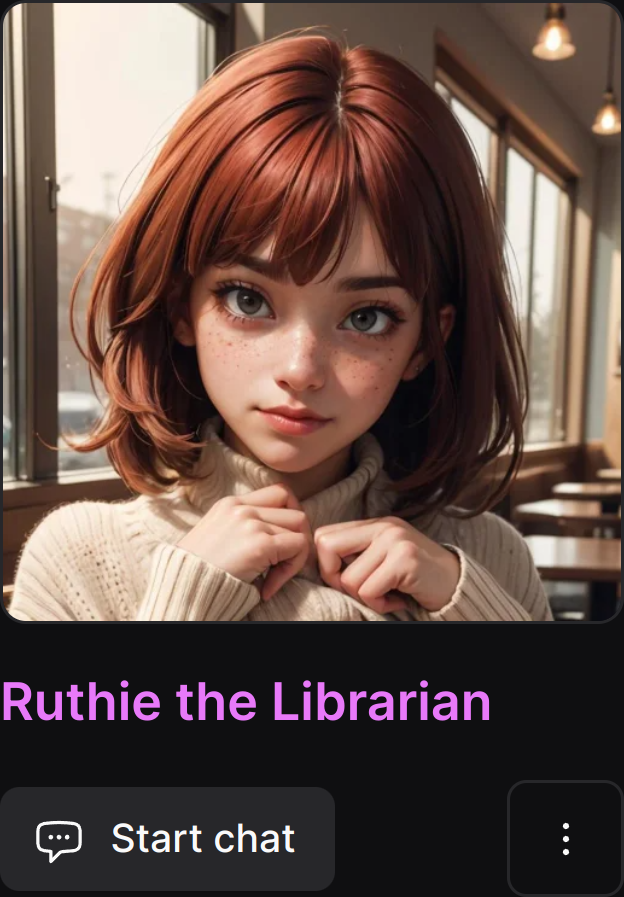
To start a scenario, click the "Start chat" button on the scenario's card or page.
After that, you will land on the "setup" screen, where you can customize your character. Specifically:
- Name: the name of your character. This will be used in the scenario's prompt and the interactions. Try to keep it short, without special characters and spaces.
- Description: a short description of your character. This will be used in the scenario's prompt to inform the model about you. You should include information about yourself that you want the model to keep in mind and stick to. These could be physical or psychological traits, or what your character likes or dislikes.
Interactions
Interactions are actions taken by you or the AI. There are three kinds of interactions: Each scenario starts with a few interactions, which are used to set the scene and introduce the characters.
Message
Message is a single piece of dialog from one of the characters or yourself, the user. It may contain a direct quote, but also some description of the character's actions or thoughts. For example:

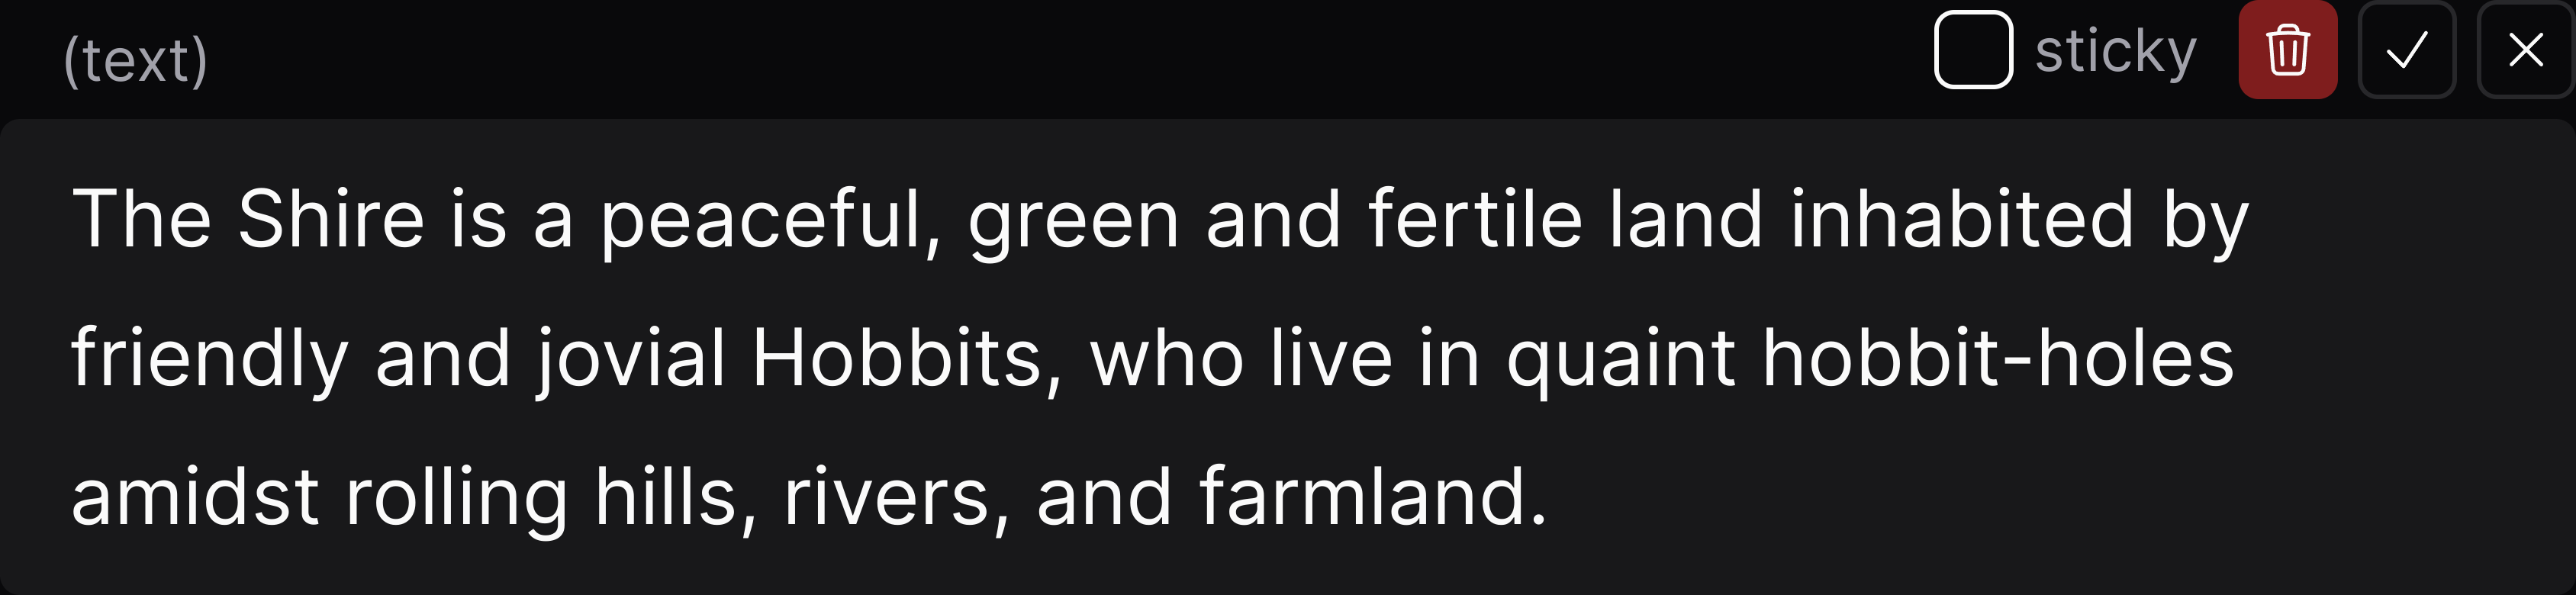
Text
Text is a plain part of the role-play story, and not attributed to any character. It's often used to describe the scene, provide background, etc. For example:
Instruction
Instruction is a special interaction that is used to steer the model. It can be used to direct the model towards certain outcomes, even ones that would not be otherwise characteristic. Some specific use cases include:
- Directions: "Samantha decides to kiss Jack on the cheek".
- Time skips: "The story fast-forwards a few days later with Jack and Samantha on a date".
For example:

Sticky Interactions
When an interaction is marked as "sticky", it will be given priority when we decide which interactions to prune and which to keep in case we run into the token limit. For the instruction interaction, "sticky" also means that it will not be removed even when you select "Keep only last instruction" in the settings.
Interaction Editor
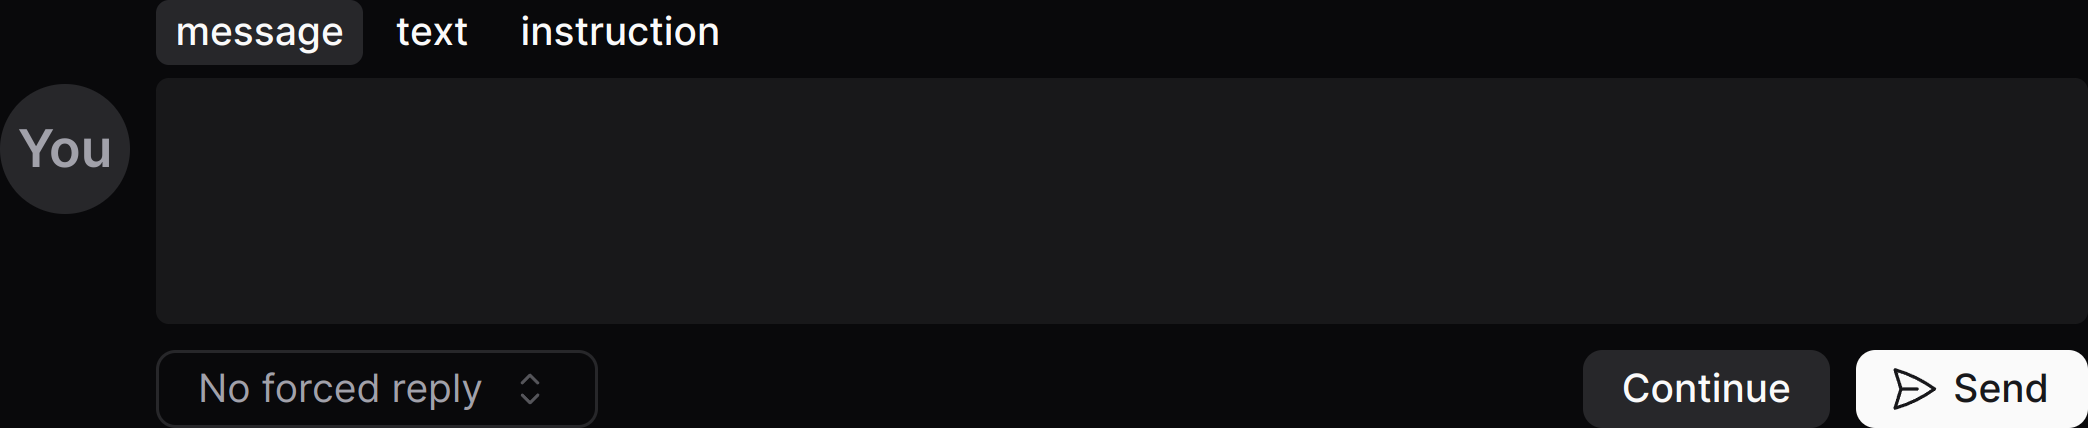
Input
This input allows you to add another interaction to the scenario. You can any of the three kinds of interactions described above, by using the menu at the top:
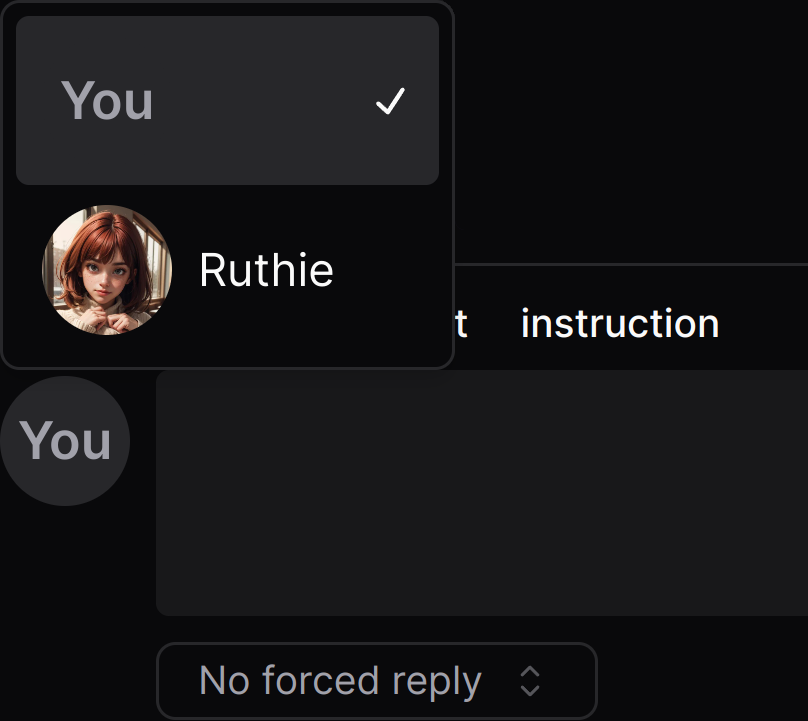
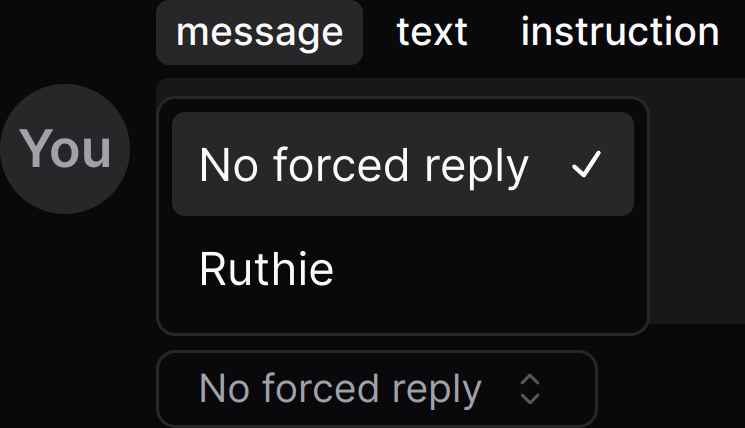
When you select "Message", you can also choose which character the message is from (including yourself) by clicking on the profile picture on the left. That means that you can impersonate any of the characters in the scenario, giving you a lot of creative freedom.
You can (for any kind of interaction), also influence the reply by optionally forcing it to be a message from a specific character. Click on the "No forced reply" select dialog at the bottom:
Send vs Continue
As you can see in the bottom right corner, there are two buttons: "Send" and "Continue". Here's what they do:
Send
Sends the interaction you specified to the model, and waits for the model to generate a reply.
Continue
Does not send any new interaction to the model, and instead asks the model to continue from the last interaction.
This can be useful, for example when the last interaction from the model was cut-off (e.g. due to reaching the max output token limit, or because you edited it).
Another possible application is when you want the model to just write the whole scenario for you (including your messages), without any input from you. For that you will also need to tweak some of the settings (see below).
NOTE: Sometimes when you click "Continue", you may get no response back. This may be because the model has determined it is your turn. There are few remedies for that:
- Let the model take a turn for you. Unselect "Stop before user message" in the settings.
- Force the model to take a turn for a specific character. Click the "No forced reply" button at the bottom and select the character you want the model to reply as.
- Try again, or change the last interaction. The model is not deterministic, sometimes you can just try again and get lucky.
Editing Existing Interactions
You can edit or delete any of the existing interactions. Simply click the the pencil button in the top right corner of the interaction you wish to edit or delete (alternatively, double click or long-press the interaction):

After that the interaction will become editable, and you can change it however you want, or delete it:

Settings
Checkout our complete model settings guide. There are several role-play specific settings: Prune interactions above limit, "Stop after N interactions", "Stop before user message", "Reveal hidden interactions", described in this section.
Prune interactions above limit is selected by default, and removes interactions if they were to exceed the token limit, with non-sticky old interactions being removed first.
"Stop before user message" is selected by default, and makes sure that the model does not send a message in your name. If you uncheck it, it will allow the model to generate messages for you, which can sometimes be quite fun as well.
"Reveal hidden interactions" is unselected by default. When selected, it will reveal interactions that were marked as "hidden".