AniMuse Image Generation Guide
In this guide you will learn how to best use the image generation models from the AniMuse family.
You can also jump straight to the examples if that's your preferred way of learning.
Basic Prompt Structure
The AniMuse models are best prompted using a combination of tags and short natural language phrases.
Specifically, the models understand "Danbooru" and "E621" style tags.
The structure of the prompt should generally go from the most important and/or difficult aspect of the picture, to the least.
Here is an example template you may use:
<quality tags>,
<artist tag>,
<1girl/1boy/1other/female/male/...>,
<character tag>, <series tag>,
<character description>,
<composition description>,
<background description>,
<artstyle description>
Here is what that might look like in practice:
masterpiece, best quality,

male, nick wilde,

sly expression, sunglasses, aloha shirt,
golden necklace, smile, teeth,

half-length portrait,

standing, head up, looking up, hand above head, confident posture,

beach, palm, cityscape, night, planet, (large pink cloud behind)+, ambient butterfly, sunset,

vaporwave, subsurface scattering, detailed background, detailed foreground, depth of field, ambient silhouette, backlighting
Quality Tags
These aren't necessary, and in fact in many cases can limit the artistic range of the model. Nonetheless, very often, they can help.
Put these into your "Include" (positive prompt): masterpiece, best quality, amazing quality. You can also experiment with others, like very awa, newest.
Put these into your "Exclude" (negative prompt): bad quality, worst quality, worst detail, malformed. You can also experiment with others, like lowres.
If you want to apply save some time, go to "Styles & Effects" and pick "Masterpiece". It will add all the most important positive and negative tags to your prompt behind the scenes.
Character Name Tags
If you are looking to create a picture of some existing character, search for "Danbooru [character name]", e.g. "Danbooru Choso JJK". Open the relevant page (warning: may include NSFW), and then take note of the tag in the top left corner:
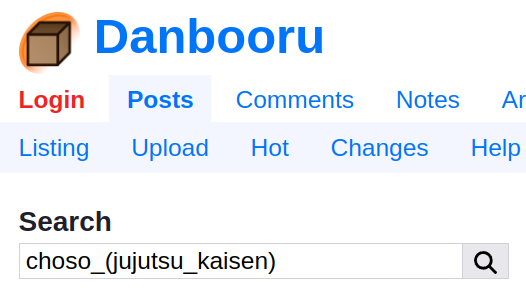
In this case the full tag for that character is choso_(jujutsu_kaisen), but we should change it to choso \(jujutsu kaisen\) for optimal results (replacing underscores with spaces and escaping the parentheses).
Artist Name Tags
You can find all of the available tags on Danbooru.
Some of the most popular artists with distinct style are:
itomugi-kunsciamano240blushyspicyincasegerphnyantchatarakanovichanato finnstarkilya kuvshinov
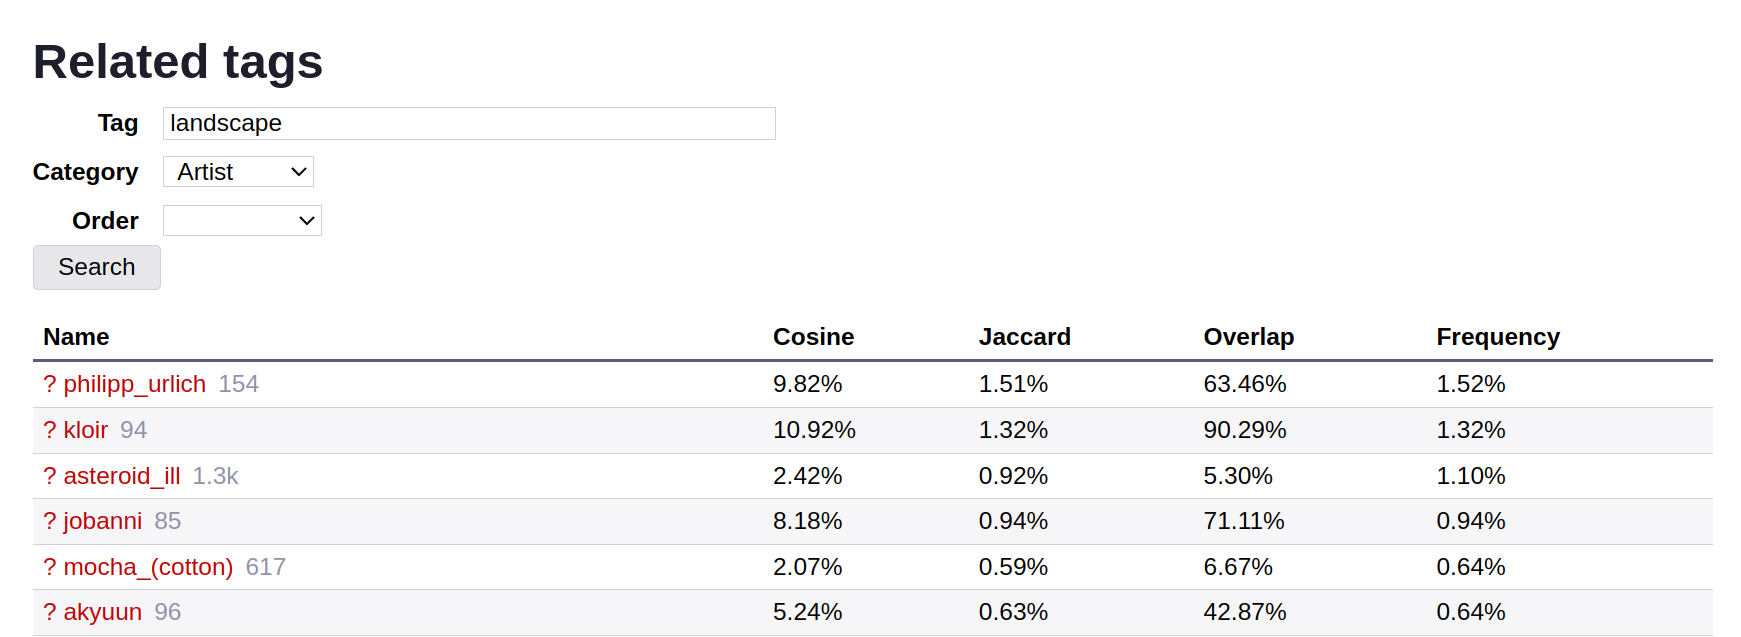
Here is how you can find more artists relevant to your interests:
- Go to the "Related Tags" page on Danbooru, looks for the concept you are interested in (e.g. "cyberpunk", "landscape", "one piece", etc.), and select category "Artist".
- Browse the top artists and pick the one whose style you like the most!
You can see the effects of artist tags below.
More Tags
3D Look:
For more 3D feel, add blender \(software\), ray tracing, 3d, unreal engine (or some combination of these) into your positive prompt. Conversely, add them to the negative prompt if you want a flatter look.
Watermarks:
Add the following to your negative prompt: watermark, signature, text, possibly emphasizing some of the elements, like (watermark)++, signature, text.
Misc
4koma: Creates manga 4-panel style sheetsreference sheet: Generates character design sheets showing multiple views and detailssketchofficial art
Finding More Tags:
(These are links to 3rd party websites that may have NSFW content)
- General tags: Danbooru Tag Groups
- For anthropomorphic art: E621 Tag Index
Multiple Characters
Creating pictures with multiple characters tends to be trickier. Here is a template that tends to yield good results:
<quality tags>,
<short description of the image>,
<1girl/1boy/1other> <description of first character>,
<1girl/1boy/1other> <description of second character>,
<composition description>,
<background description>,
<artstyle description>
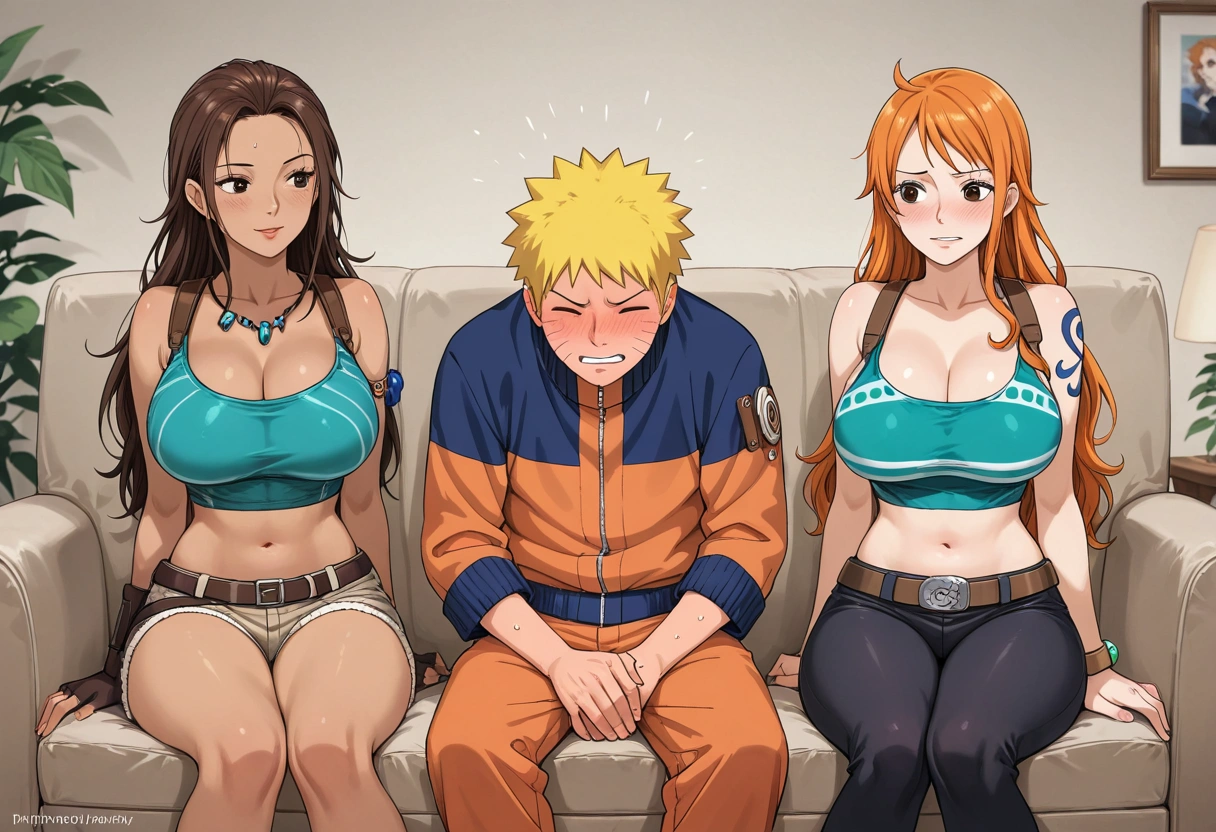
masterpiece, best quality, highres, very awa,
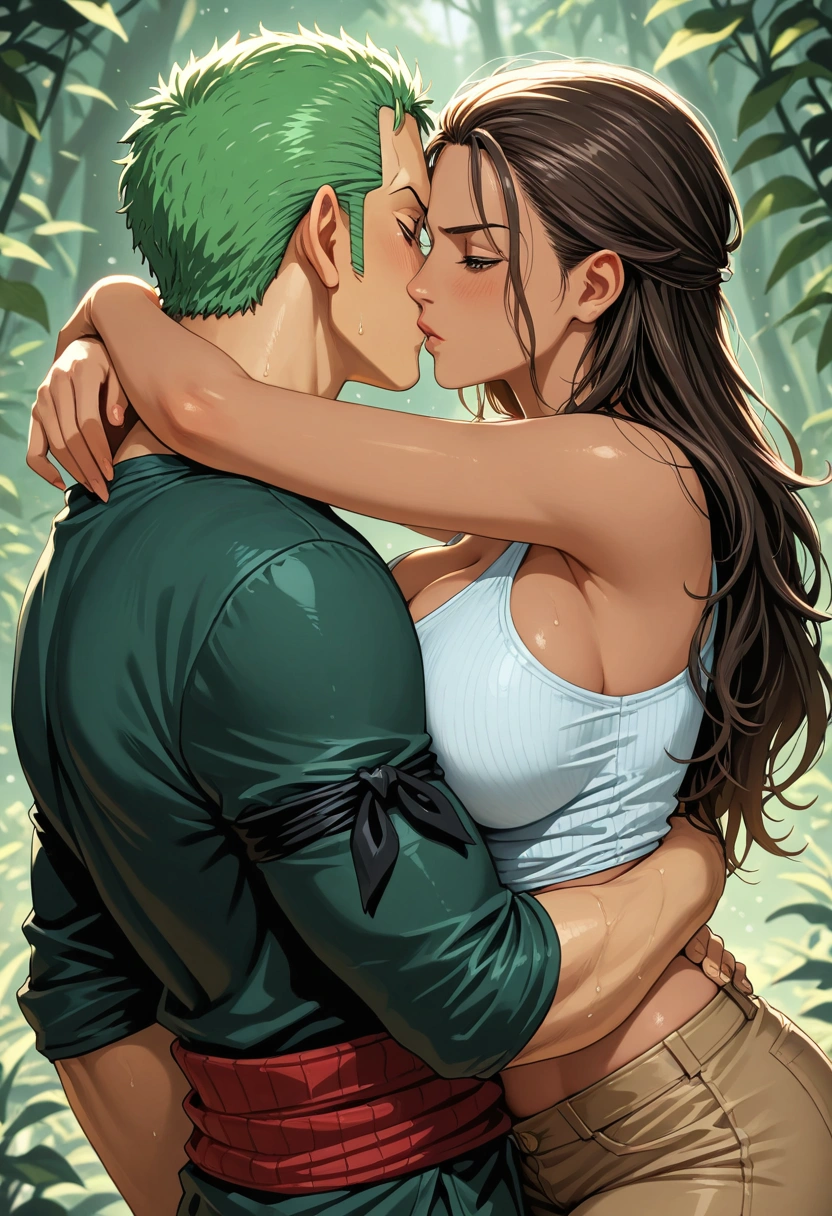
lara croft hugging roronoa zoro,
1girl, lara croft \(cosplay\), brown hair, dark skin,
(1boy)+, roronoa zoro \(cosplay\), green hair
If you want to have multiple characters of the same gender, you can use 2girl, 3boys.
masterpiece, best quality, highres, very awa,

uzumaki naruto, lara croft and nami sitting on the sofa,

2girls, (lara croft \(cosplay\))++, brown hair, dark skin, nami \(one piece\), orange hair,

(1boy)++, uzumaki naruto, blushing,

on couch
Pro Tip For Making Great Prompts Fast
Here's a cheat code for how to get your prompt started:
- Find an image on Danbooru or E621.
- Take all the tags from the image and turn them into your initial prompt.
- Tweak as needed.
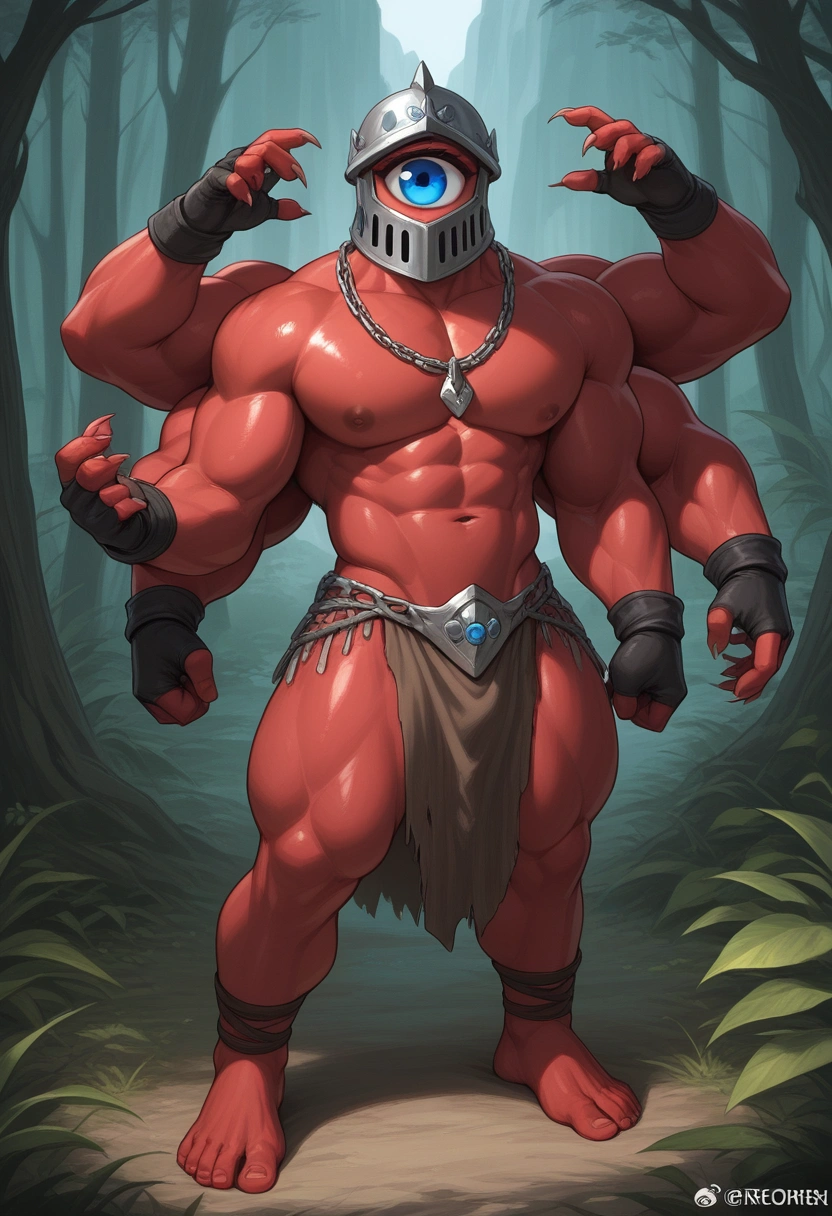
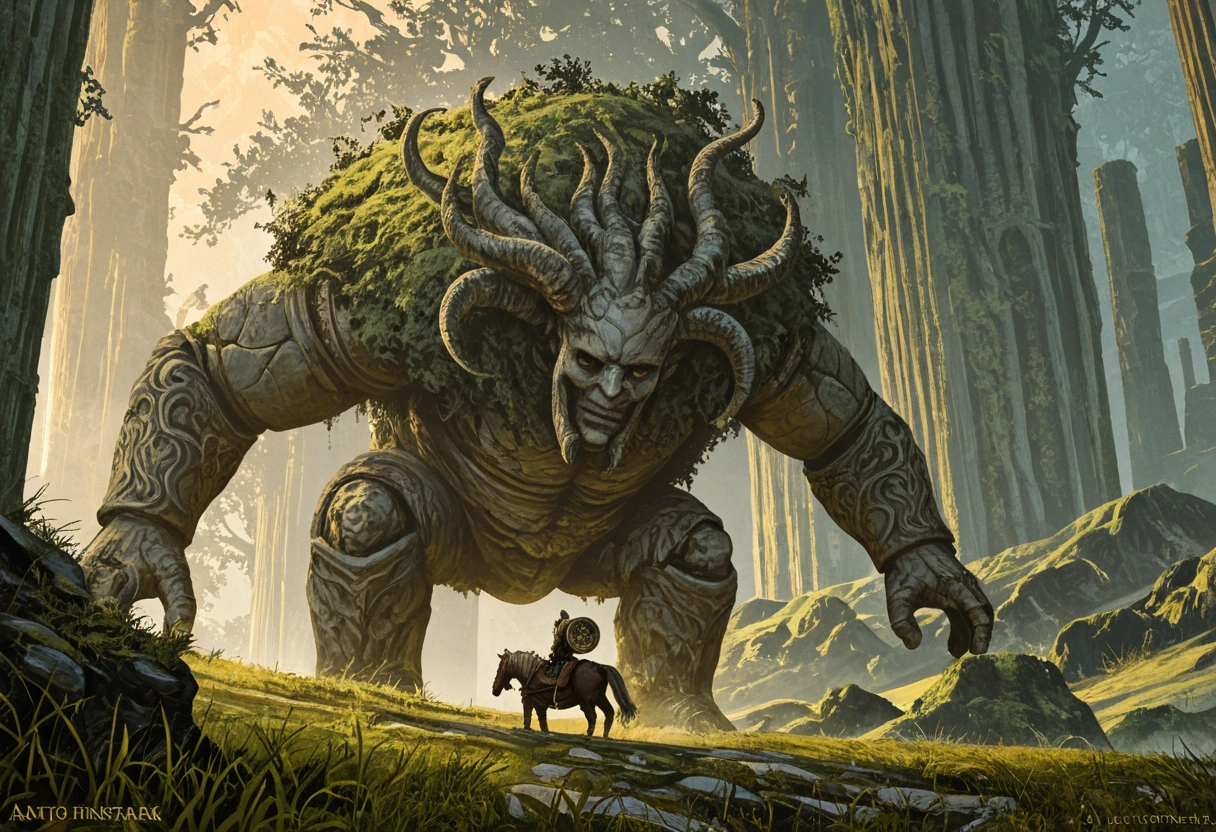
For example, if you have a Danbooru image with these tags:
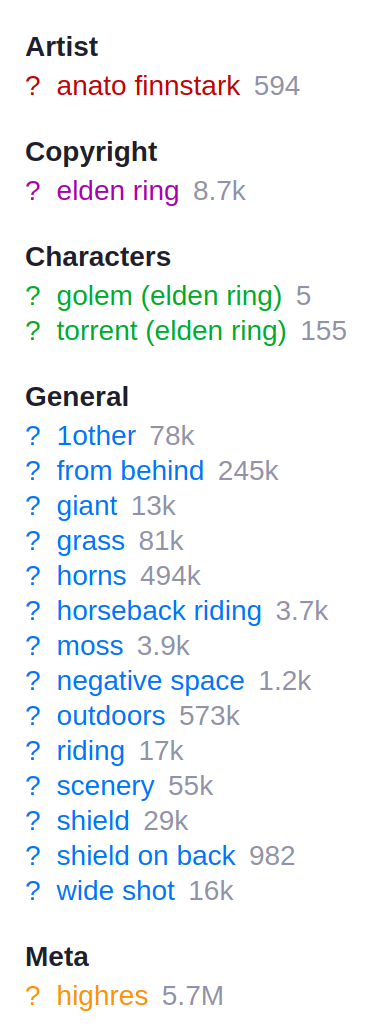
You could turn it into this prompt:
masterpiece, best quality, highres,

1other,

golem \(elden ring\), torrent \(elden ring\), elden ring,

giant, horns, shield, shield on back, horseback riding, riding, from behind,

wide shot, negative space,

outdoors, scenery, grass, moss
90% of the time, this will give you a reasonable baseline for your image.
Built in "Styles & Effects"
These help you easily adjust the look and feel of your images. The "Unreal" styles & effects make your images look more 3D. The rest is a mixed bag and you should experiment to see what works and does not work for you and your pictures.
When in doubt, start off with weight between 0.6 and 0.8, and adjust up or down based on the results you are going for.
Model-Specific Recommendations
AniMuse A
- Use longer, more detailed prompts
- Set "Prompt Strength" (CFG) to 3-7
- Use 20 or more steps in most cases
AniMuse B
- Set "Prompt Strength" (CFG) to 2-5 (2 or 2.5 will look best, most of the time)
- Use 15 or more steps in most cases
- Higher prompt strength (3+) tends to lead to more saturated images
Turbo Mode
Turbo mode allows you to generate images in as little as 4 steps, saving you both time and credits. You enable it by using the switch under "Steps":
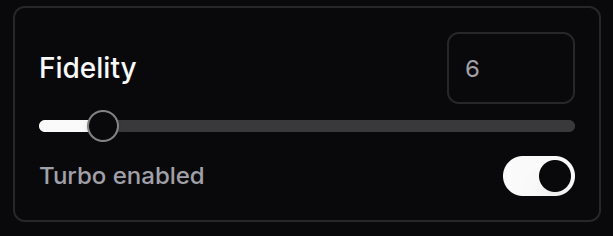
Turbo mode behaves slightly differently from regular mode. Namely:
- Prompt Strength is limited to 1.
- It may affect the style and vibe of the image, even if you use the same number of steps.
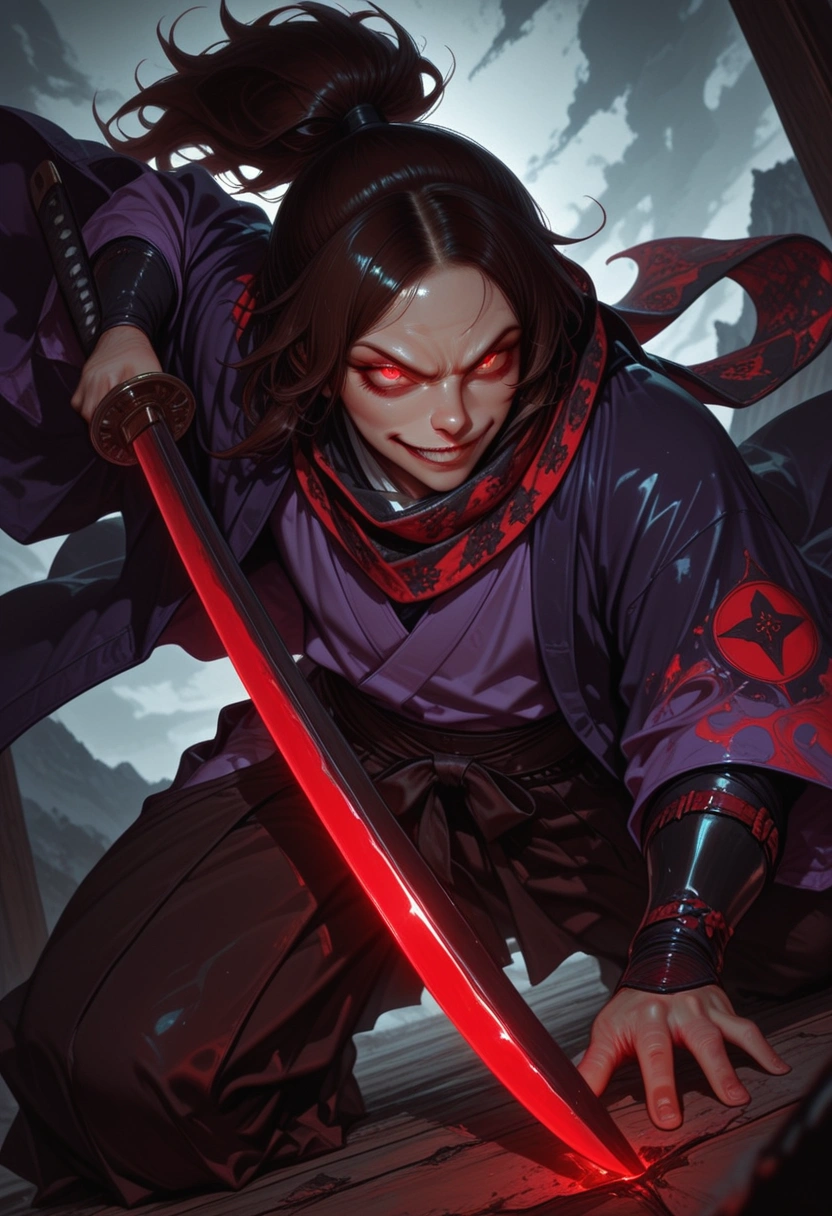
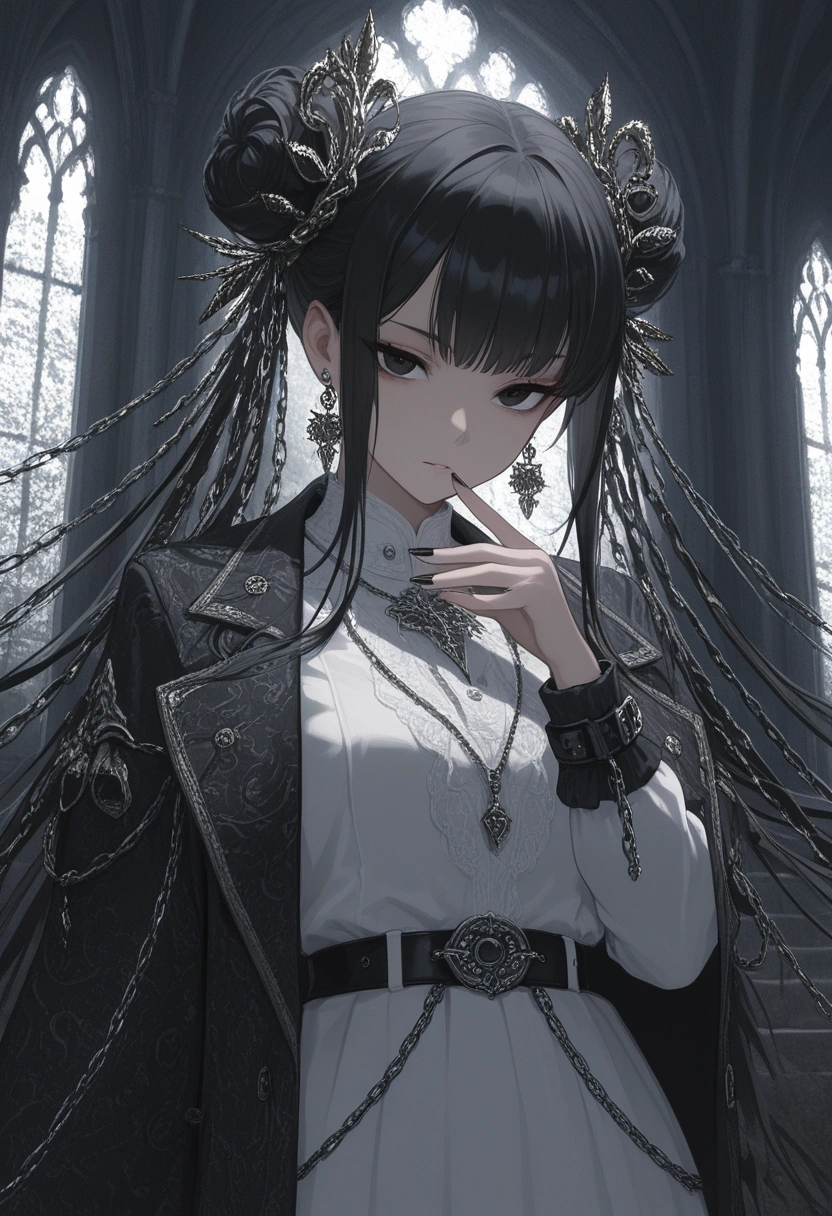
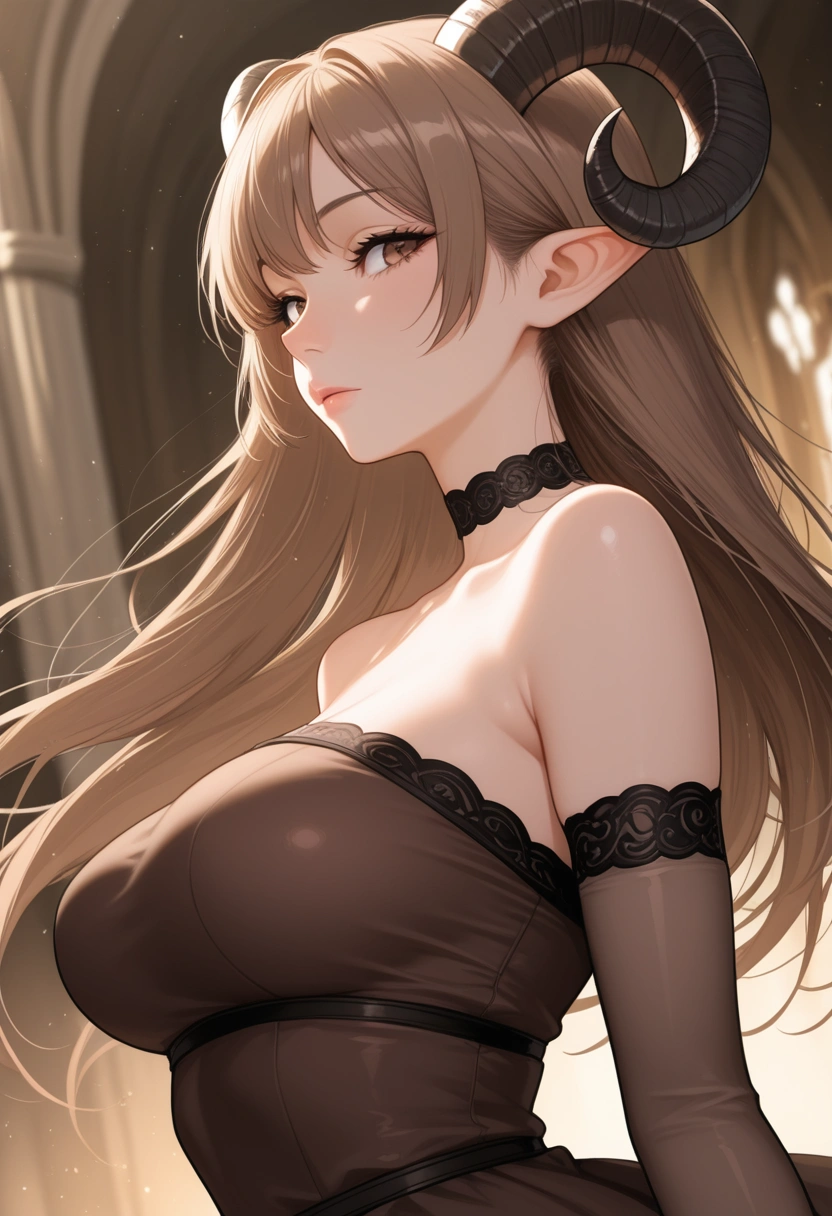
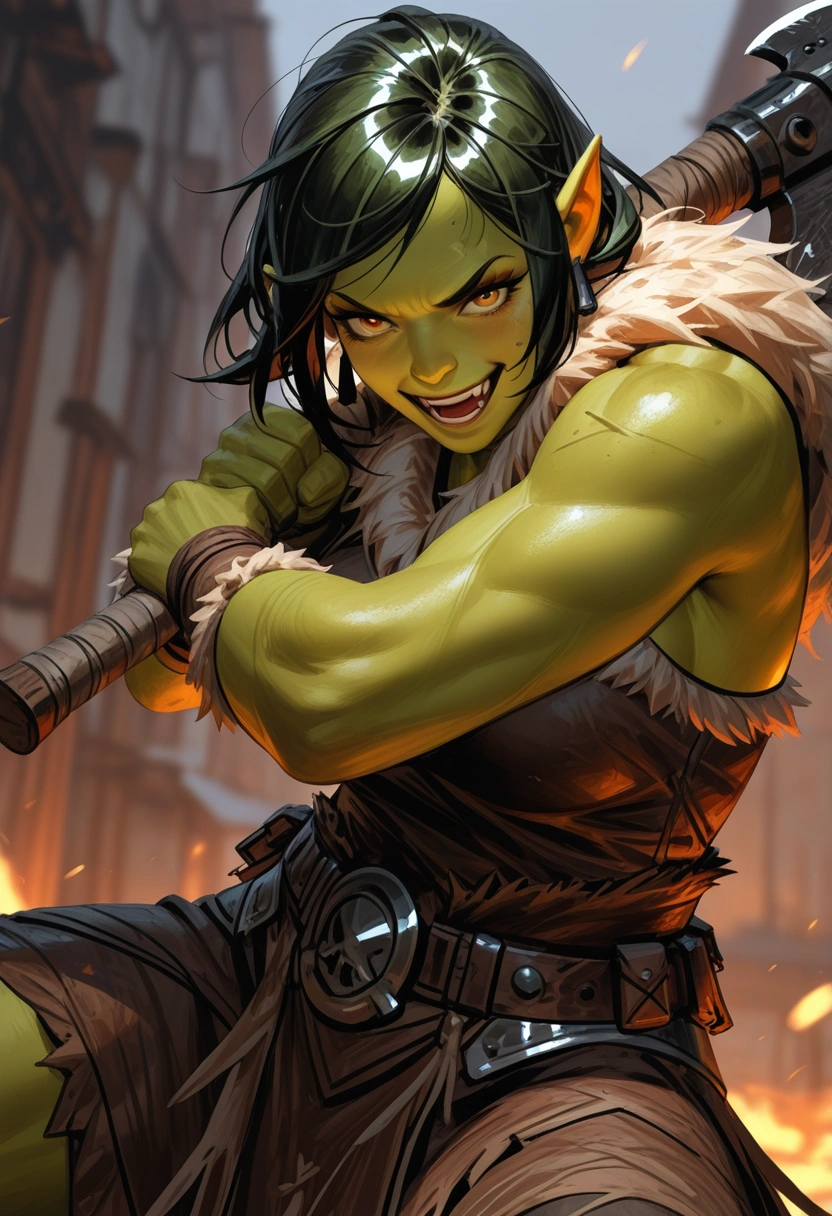
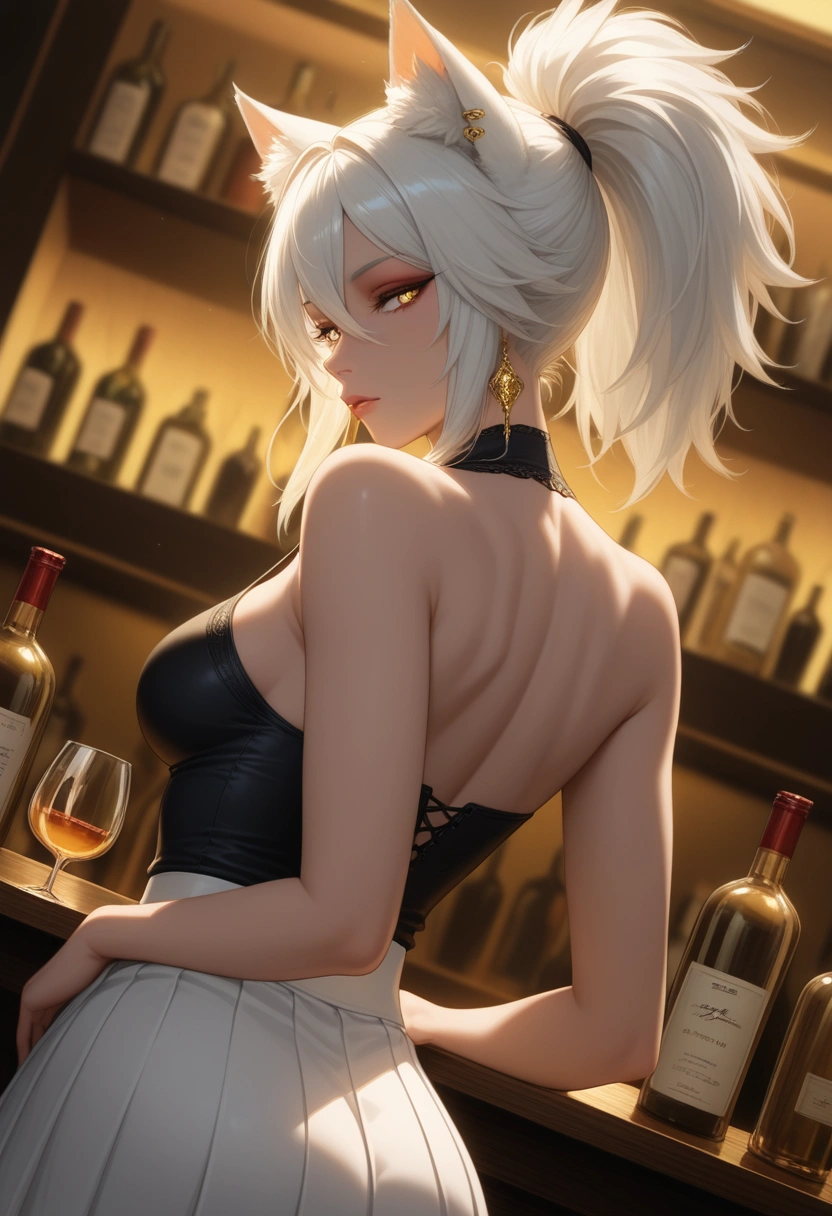
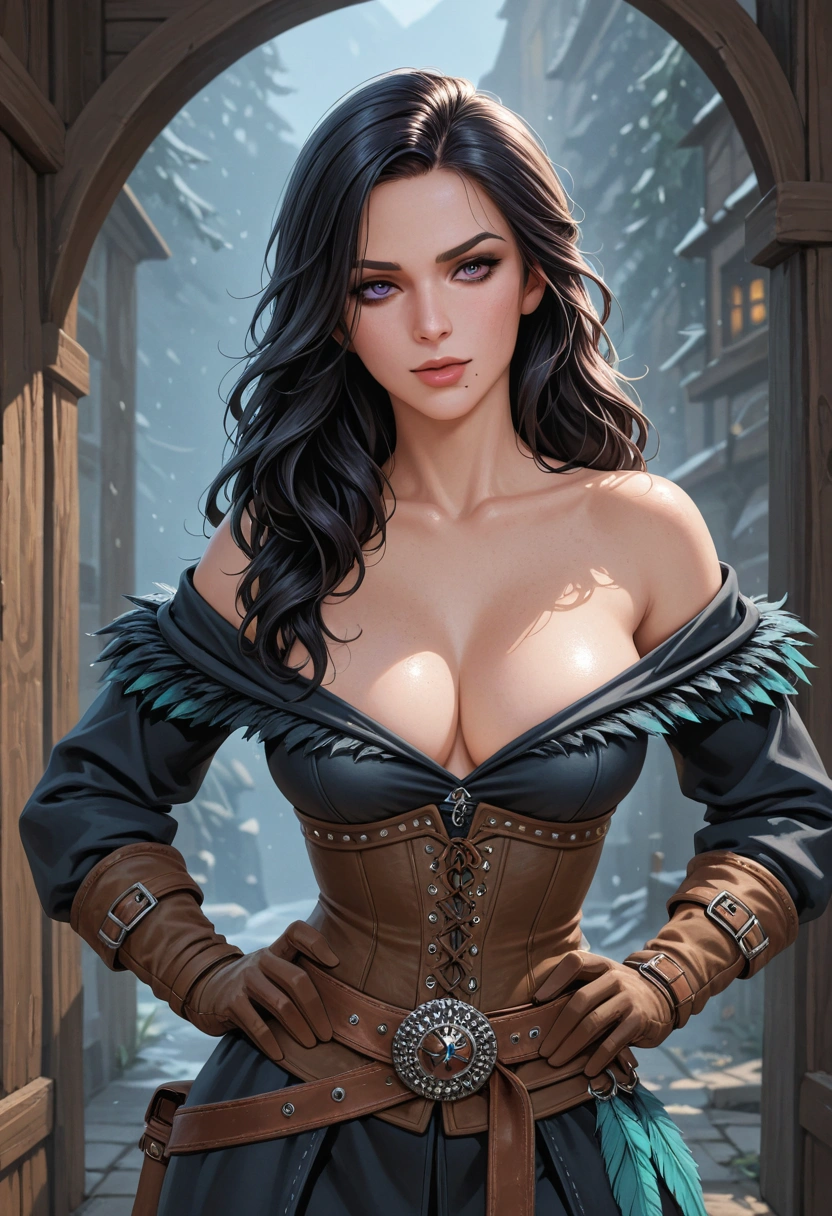
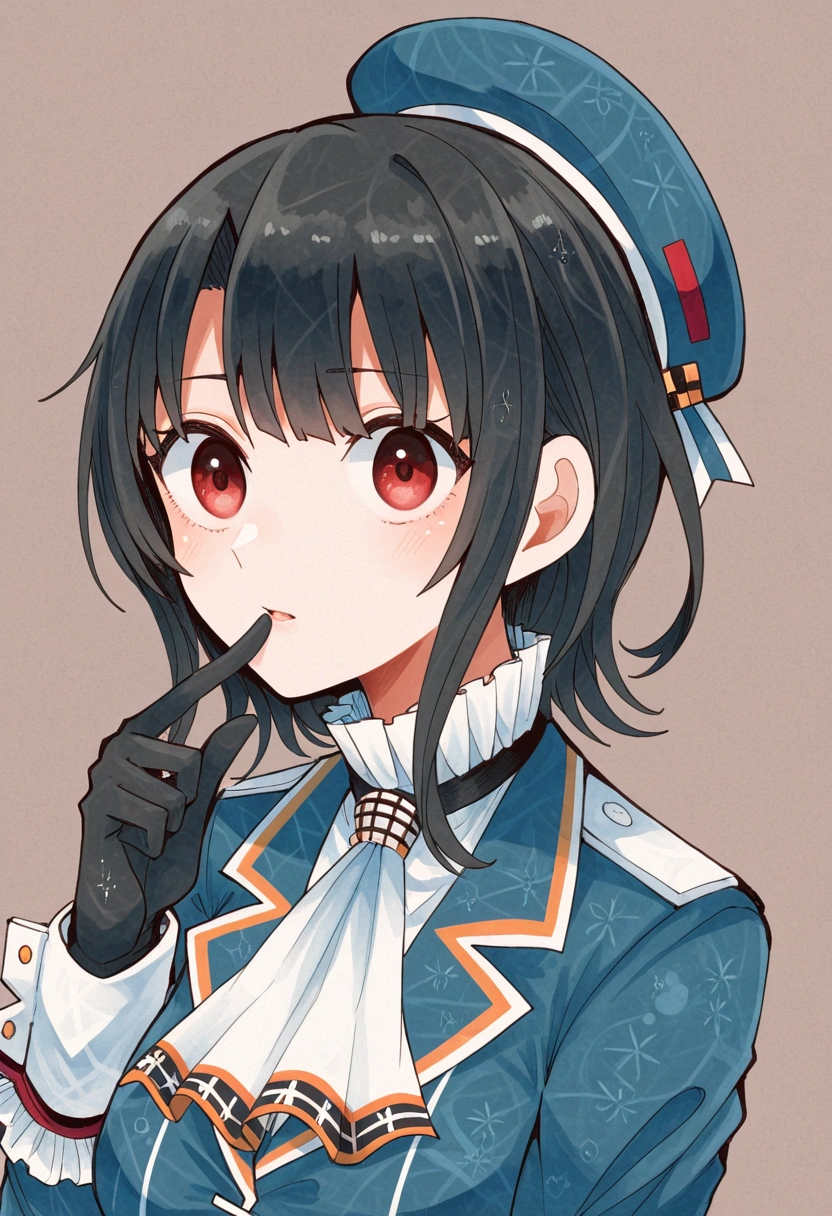
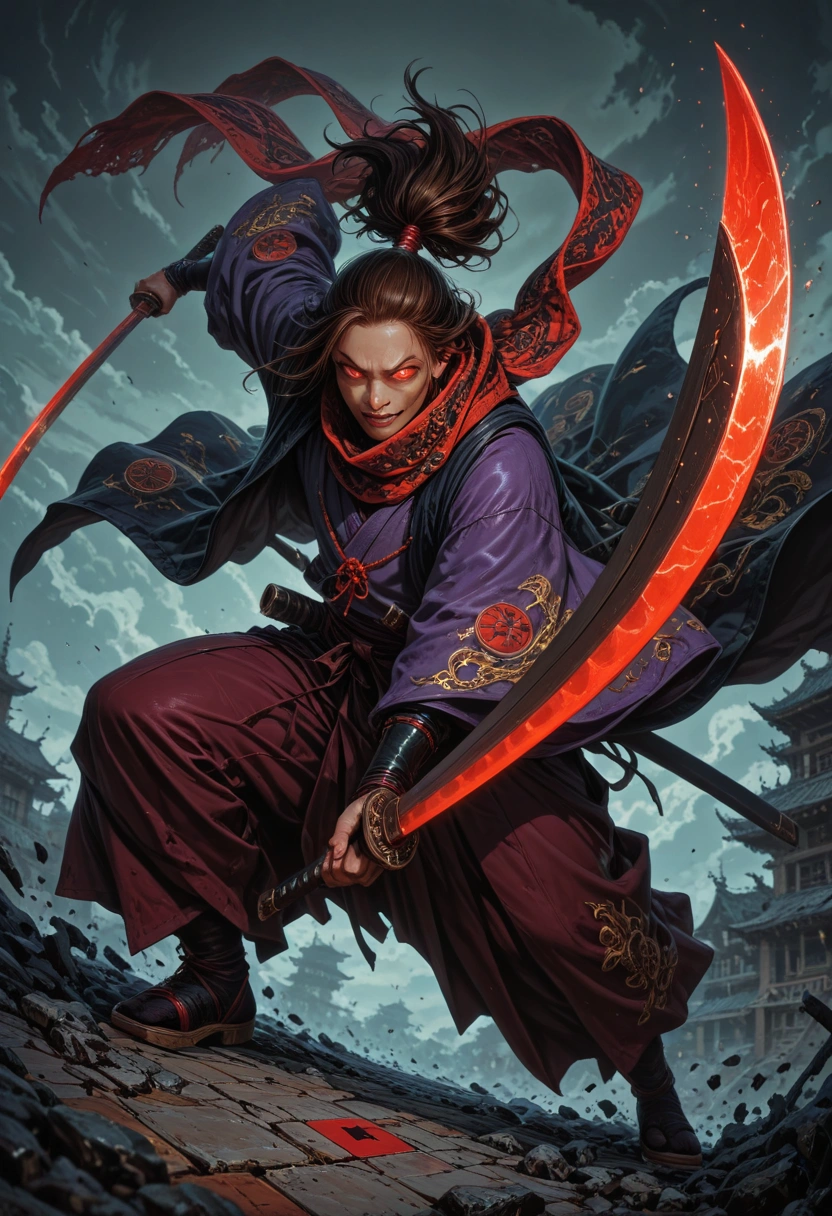
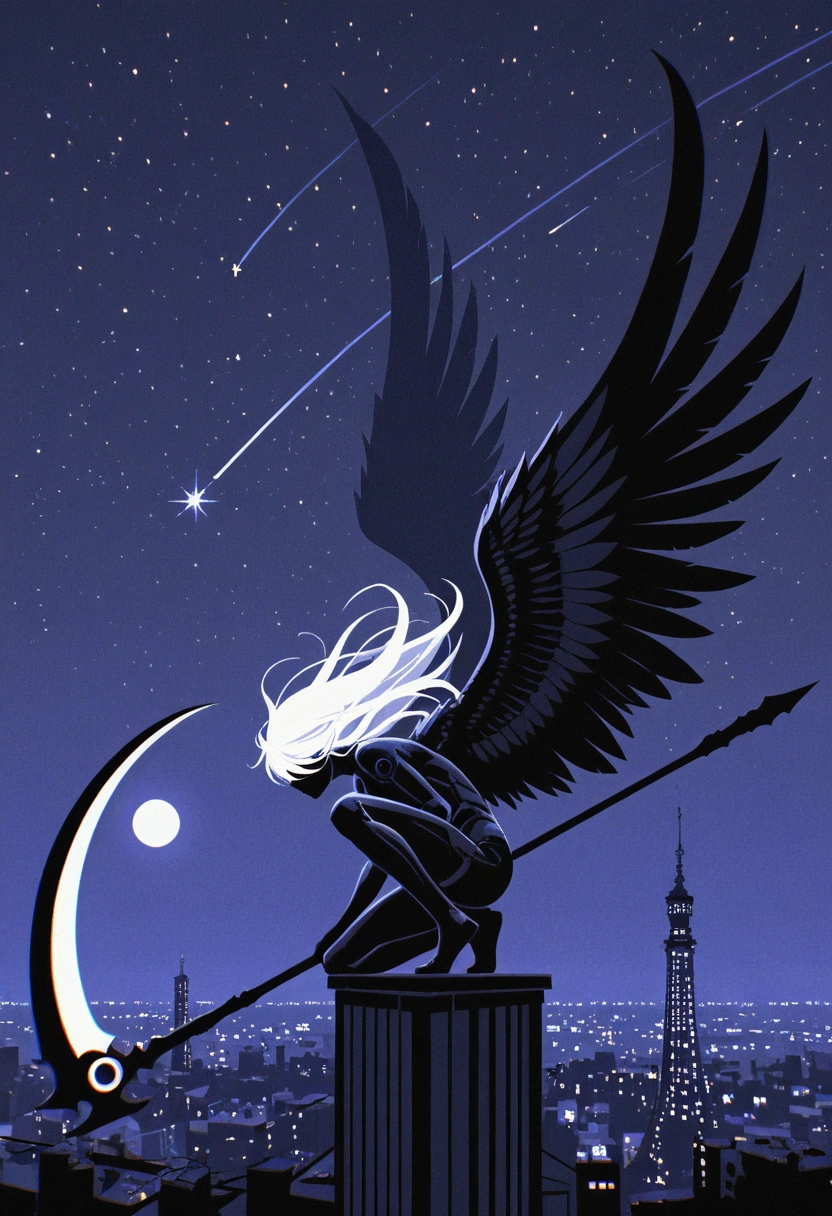
Examples
Click on the image to open it in the image generator and see the prompt.
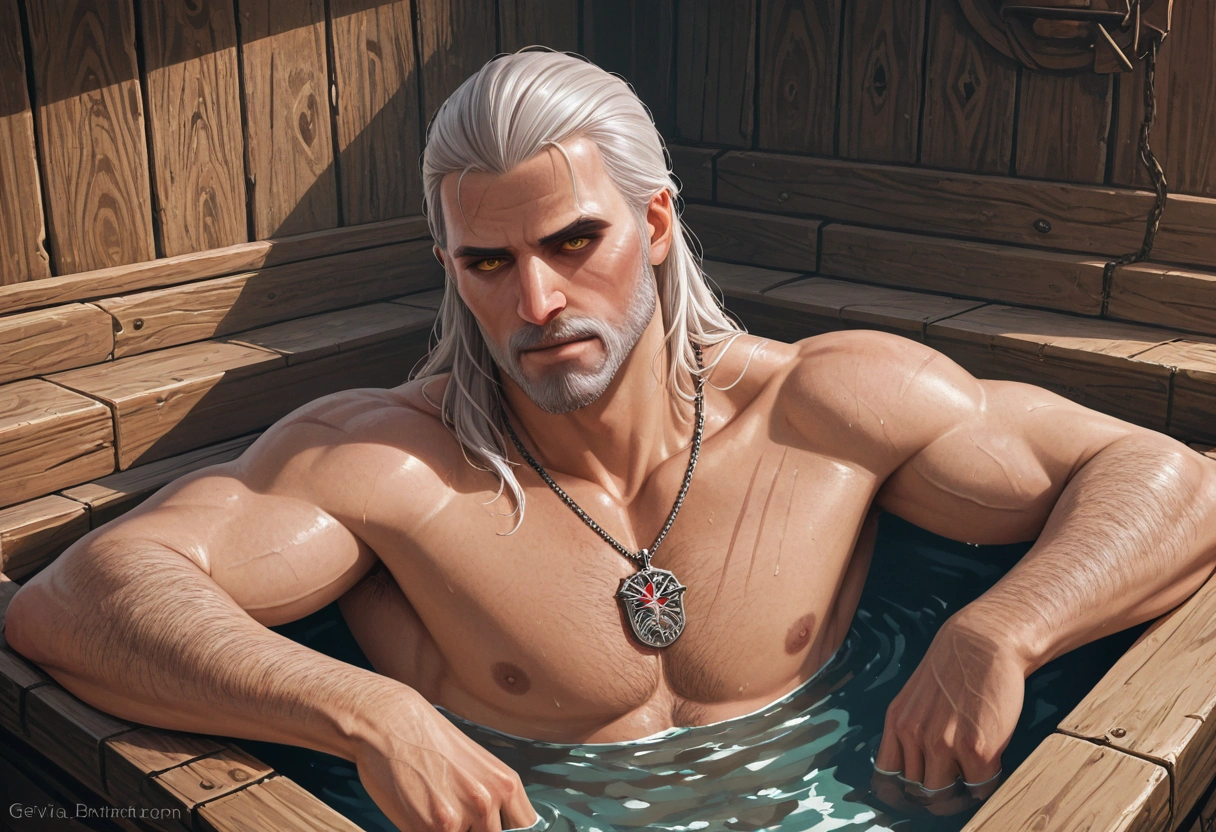
AniMuse A

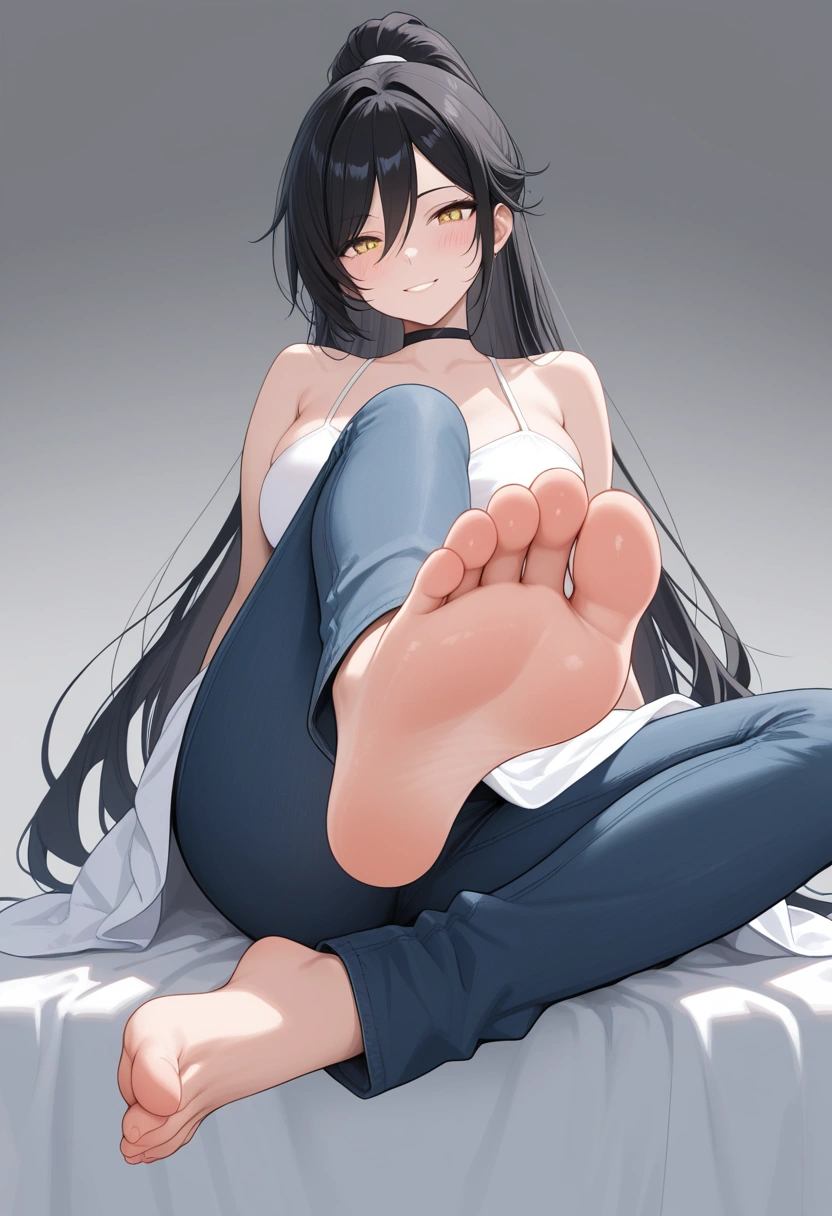
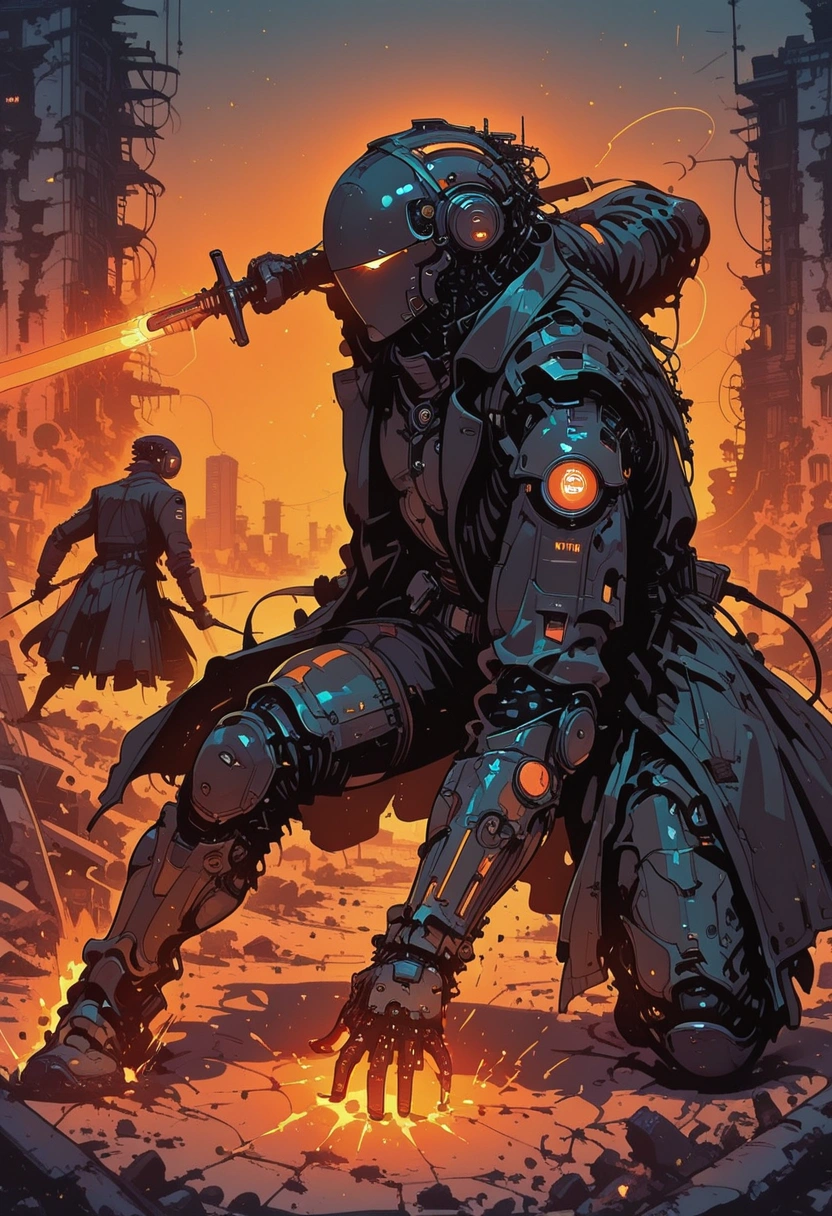
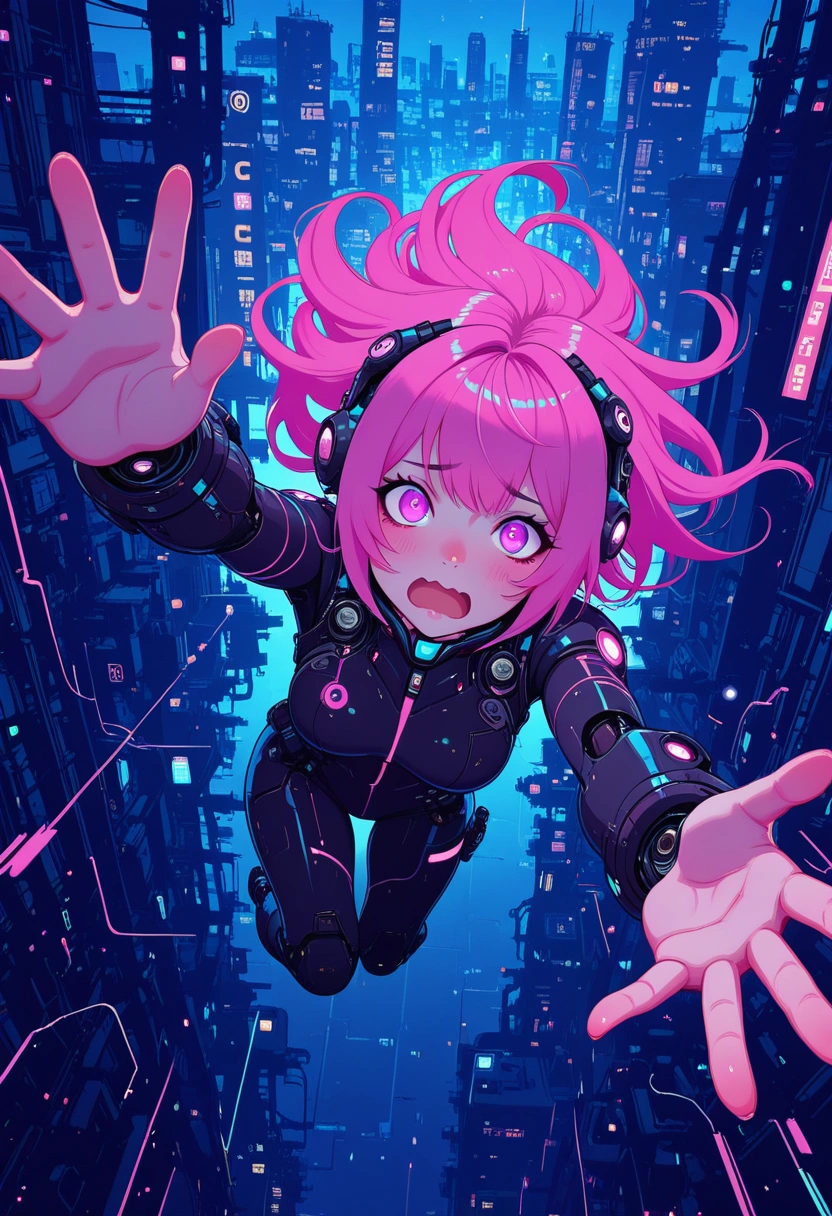
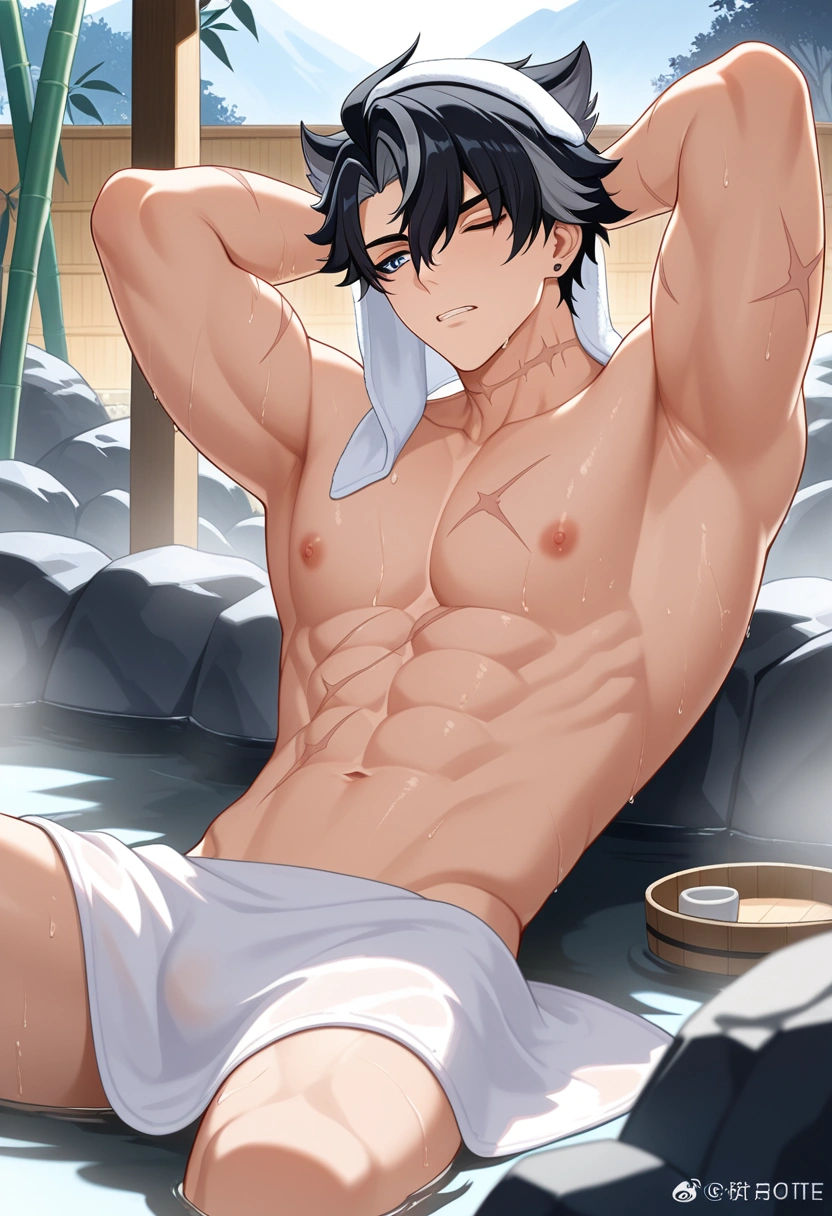
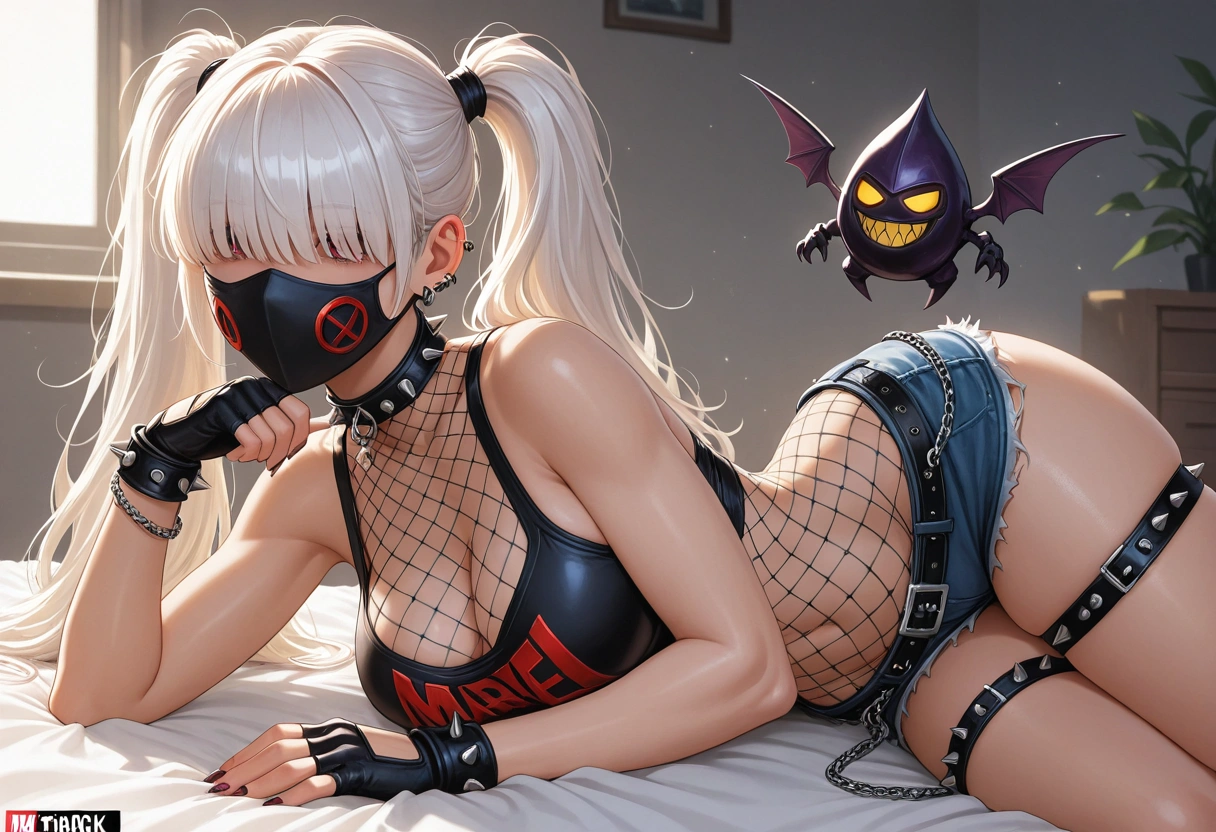
AniMuse B


Effects of Artist Tags
Here you can see the effects of appending by <artist tag> at the end of the plain prompt:
| No artist | 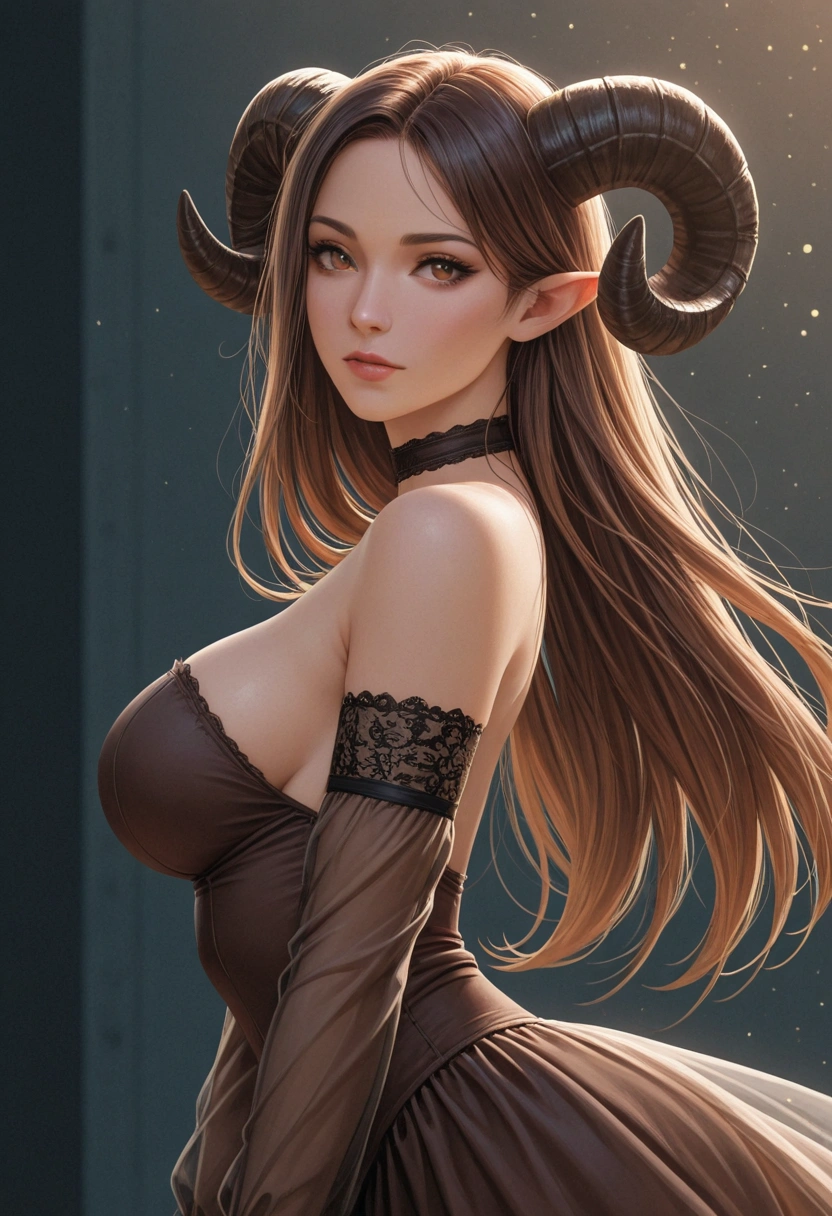 | 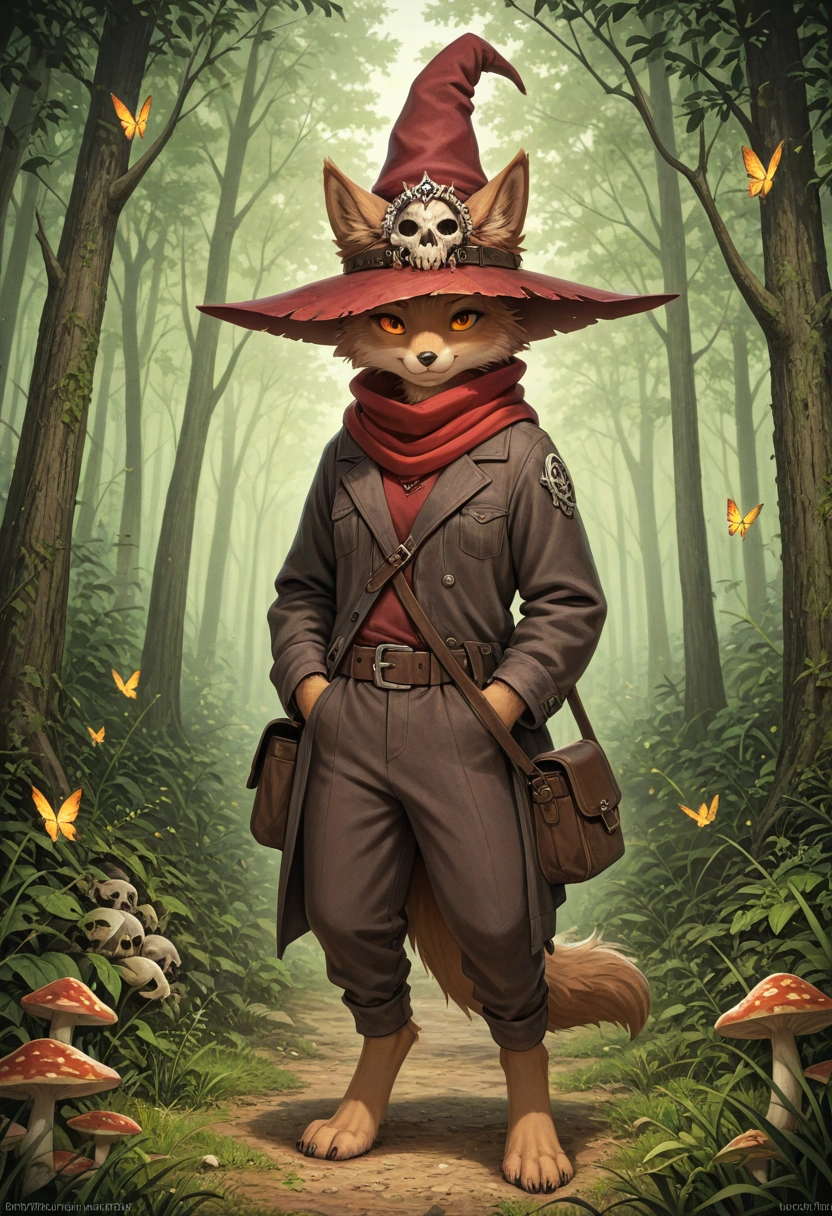 | 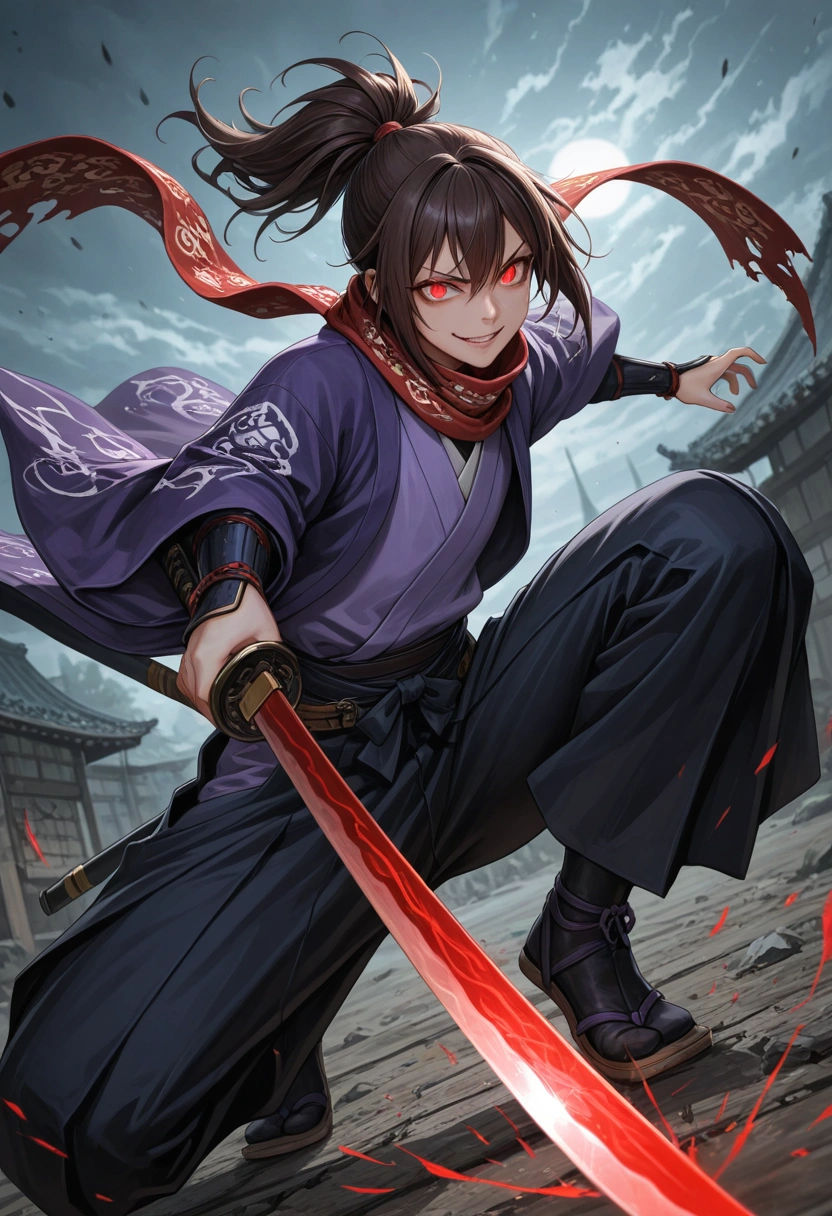 |
| blushyspicy | 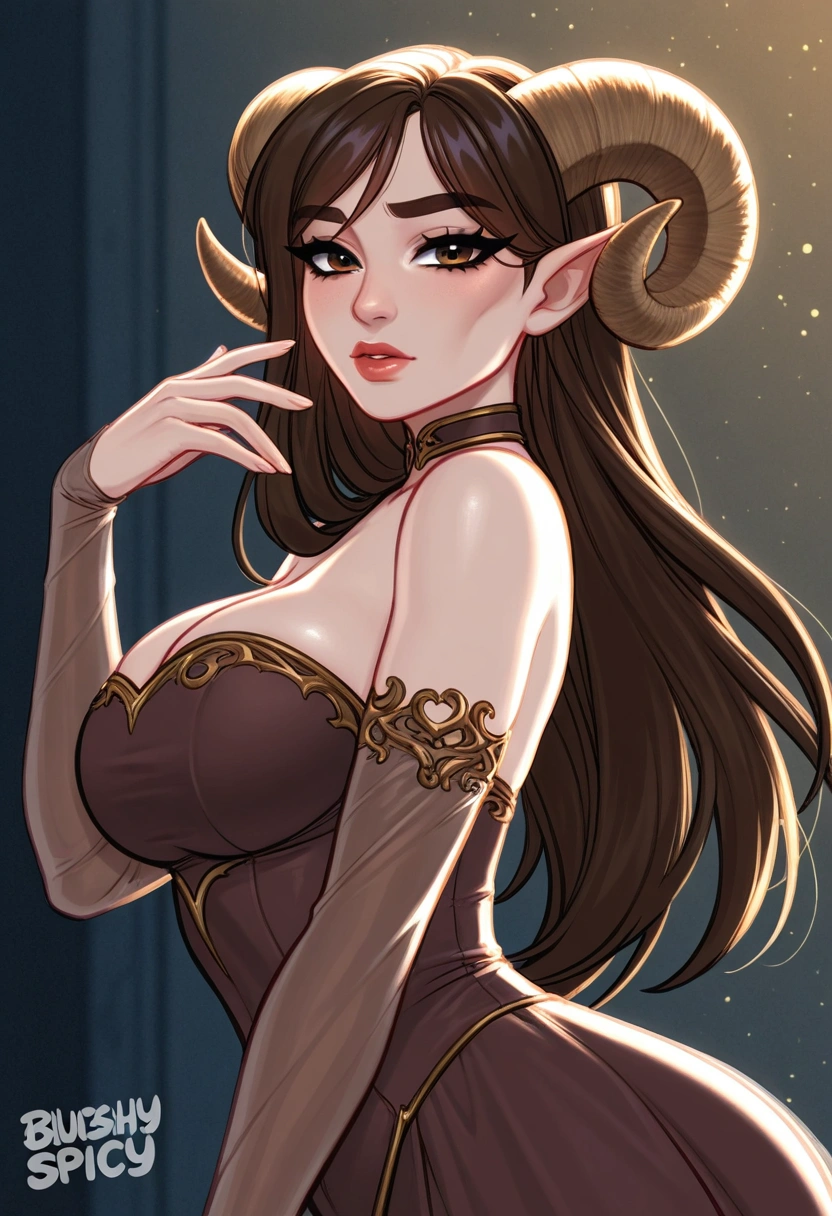 | 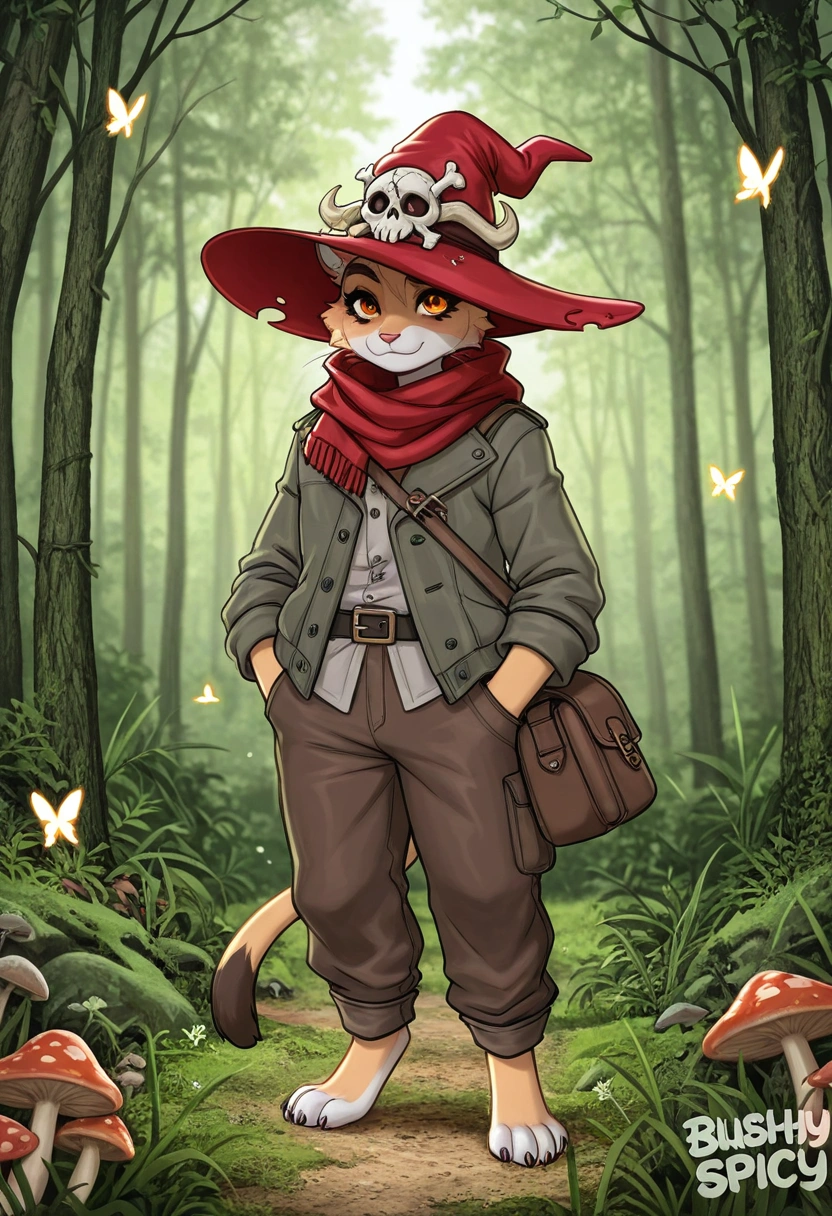 | 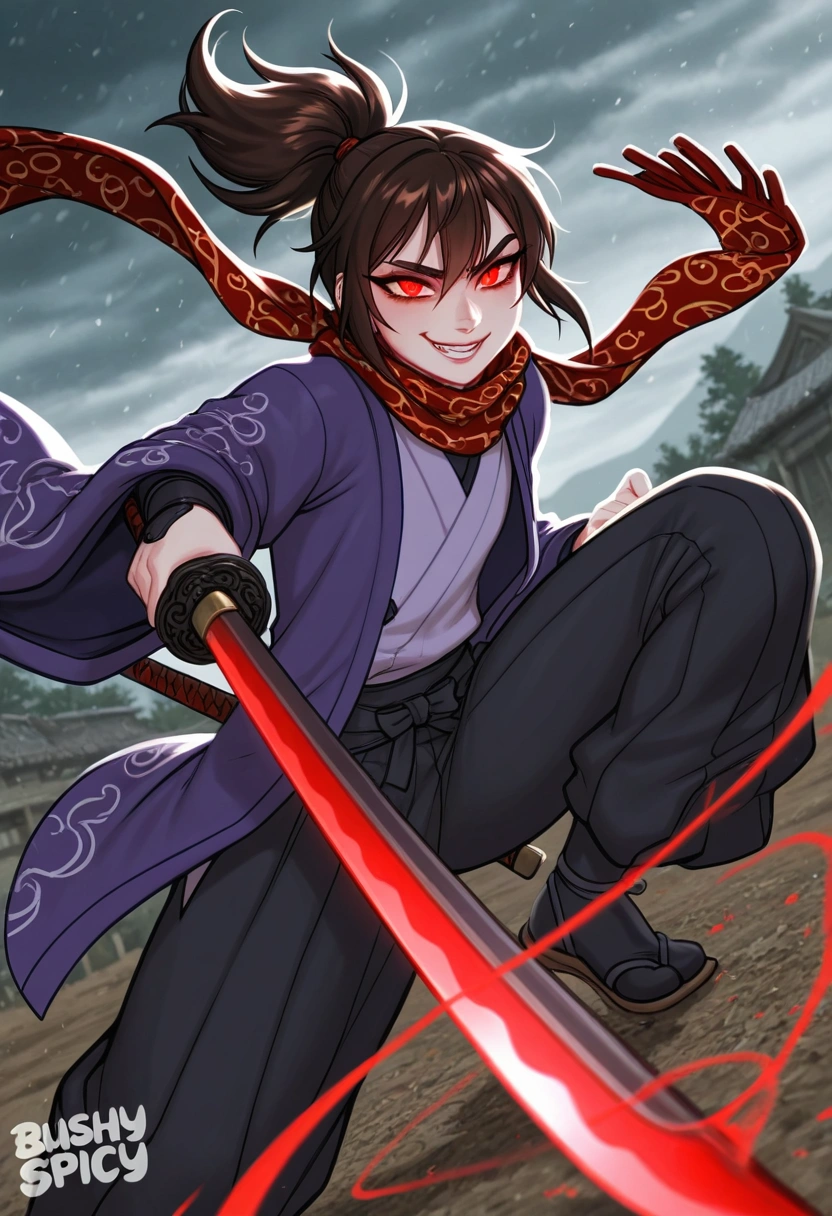 |
| gerph | 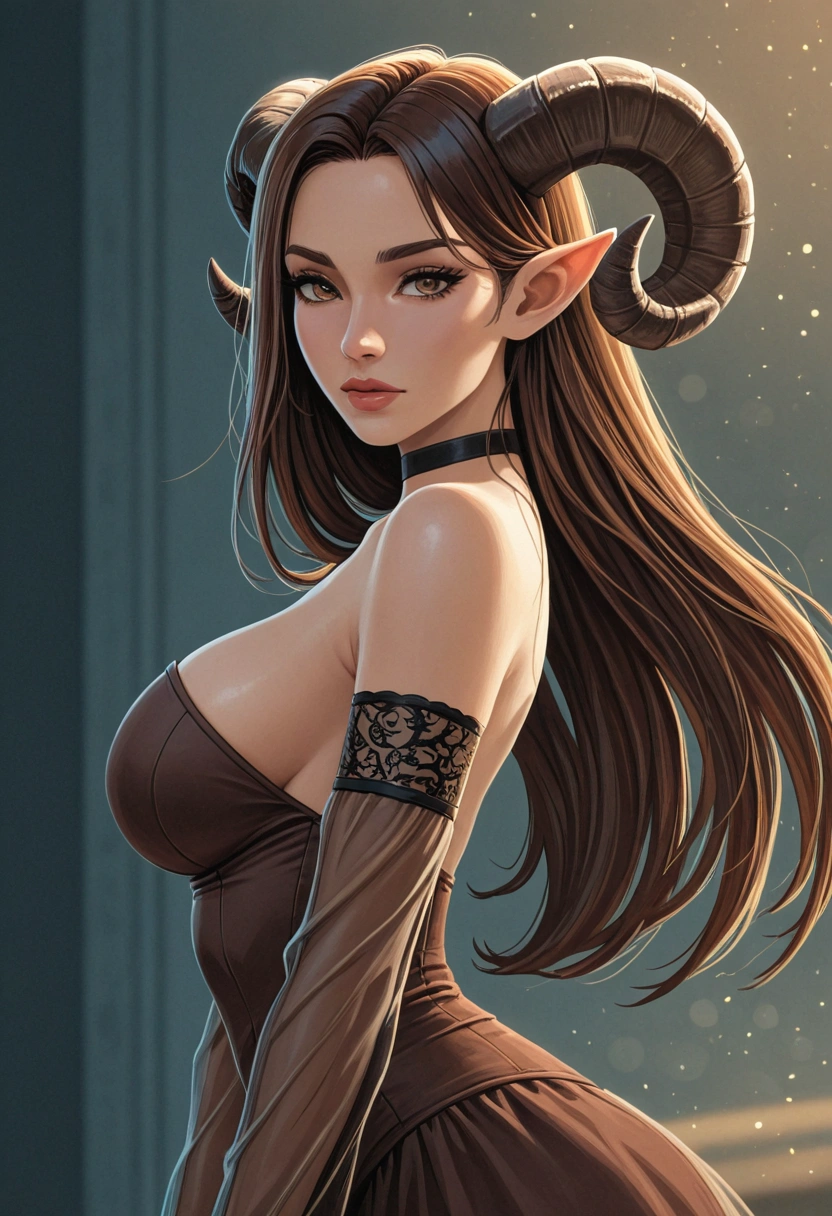 | 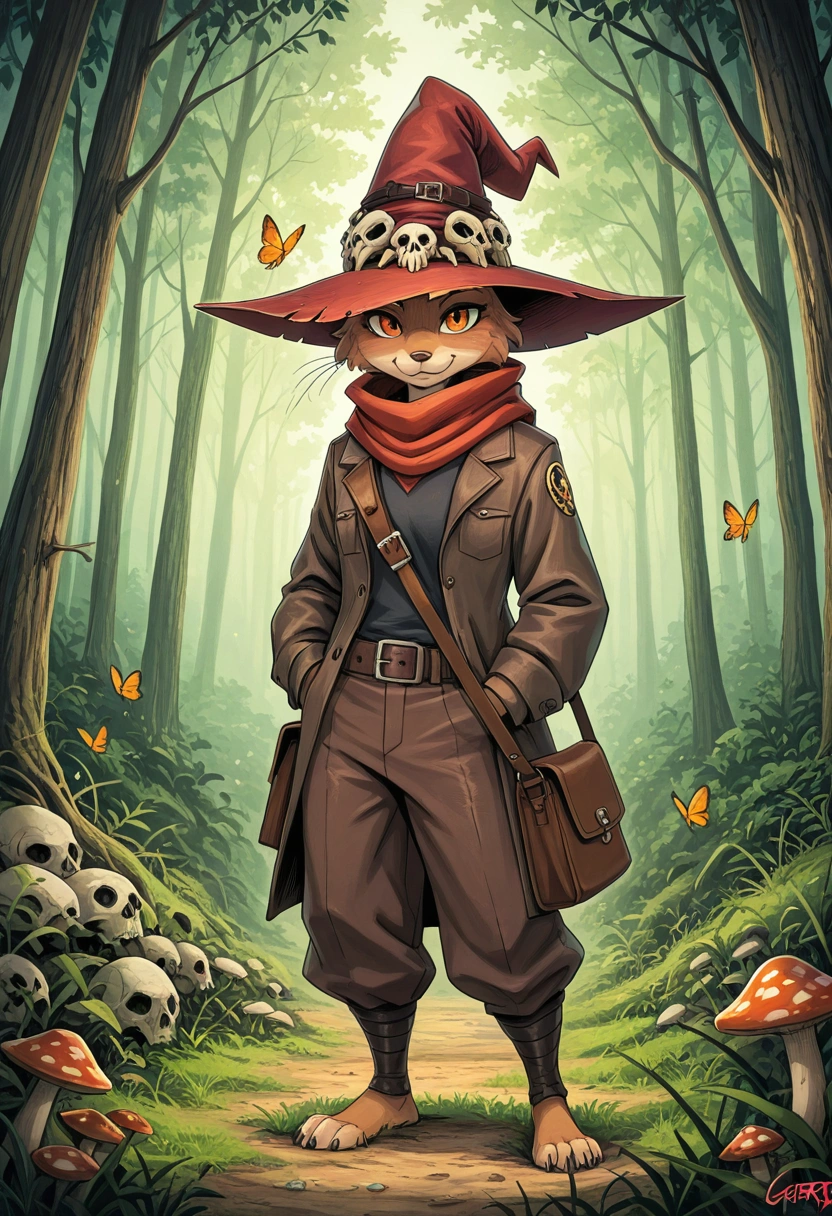 | 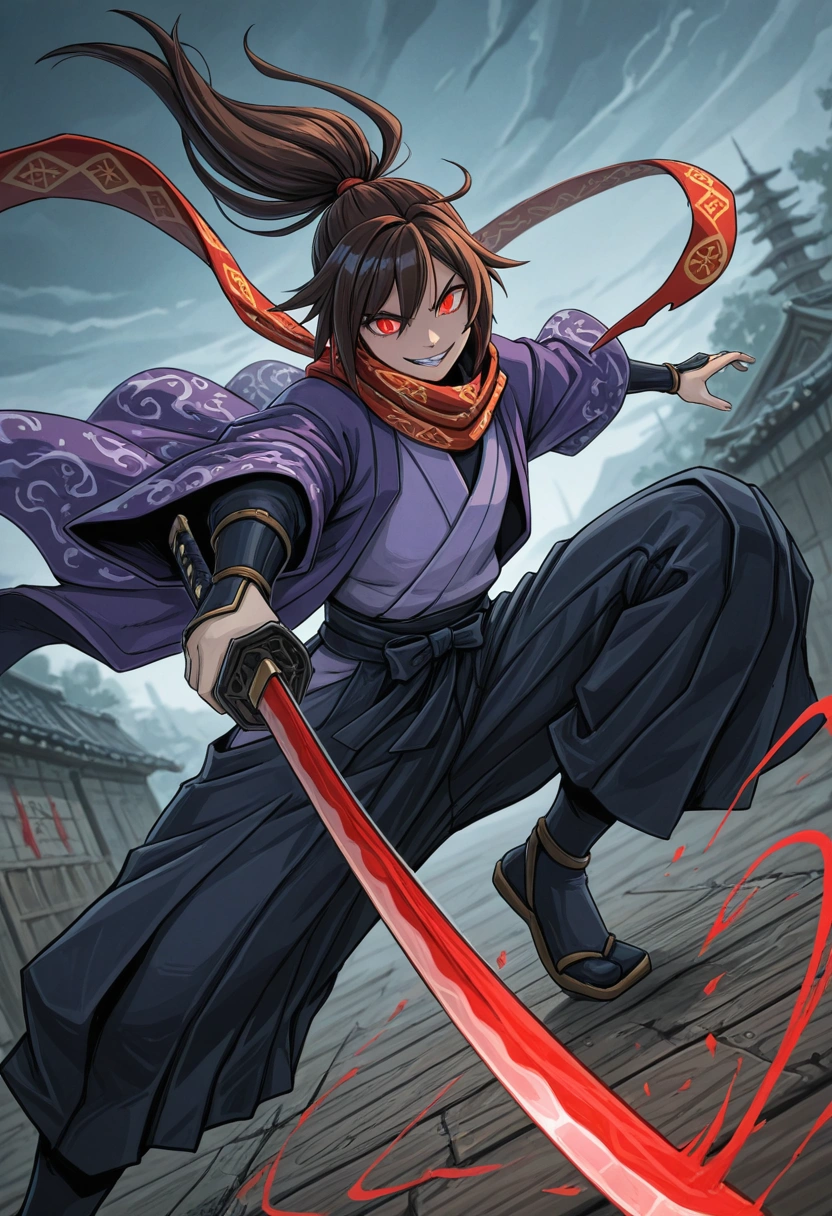 |
| incase |  |  | 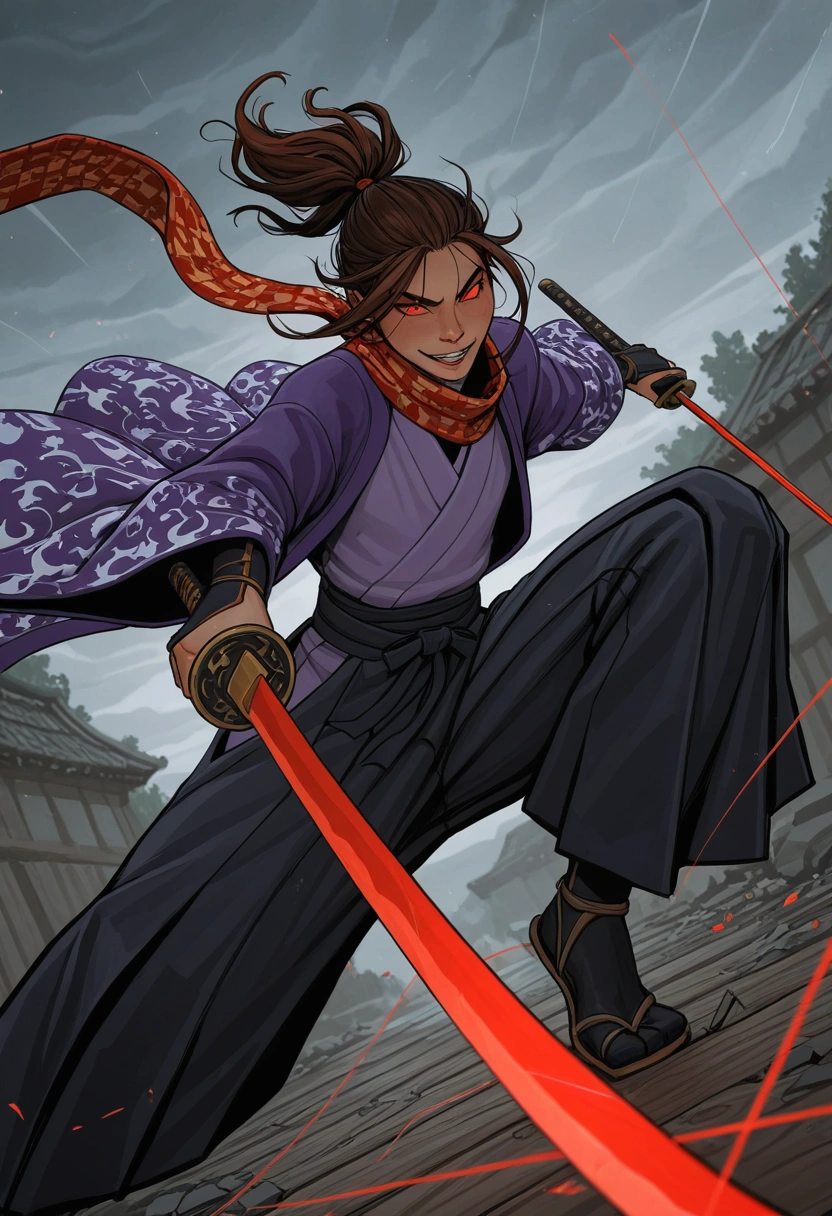 |
| intomugi-kun | 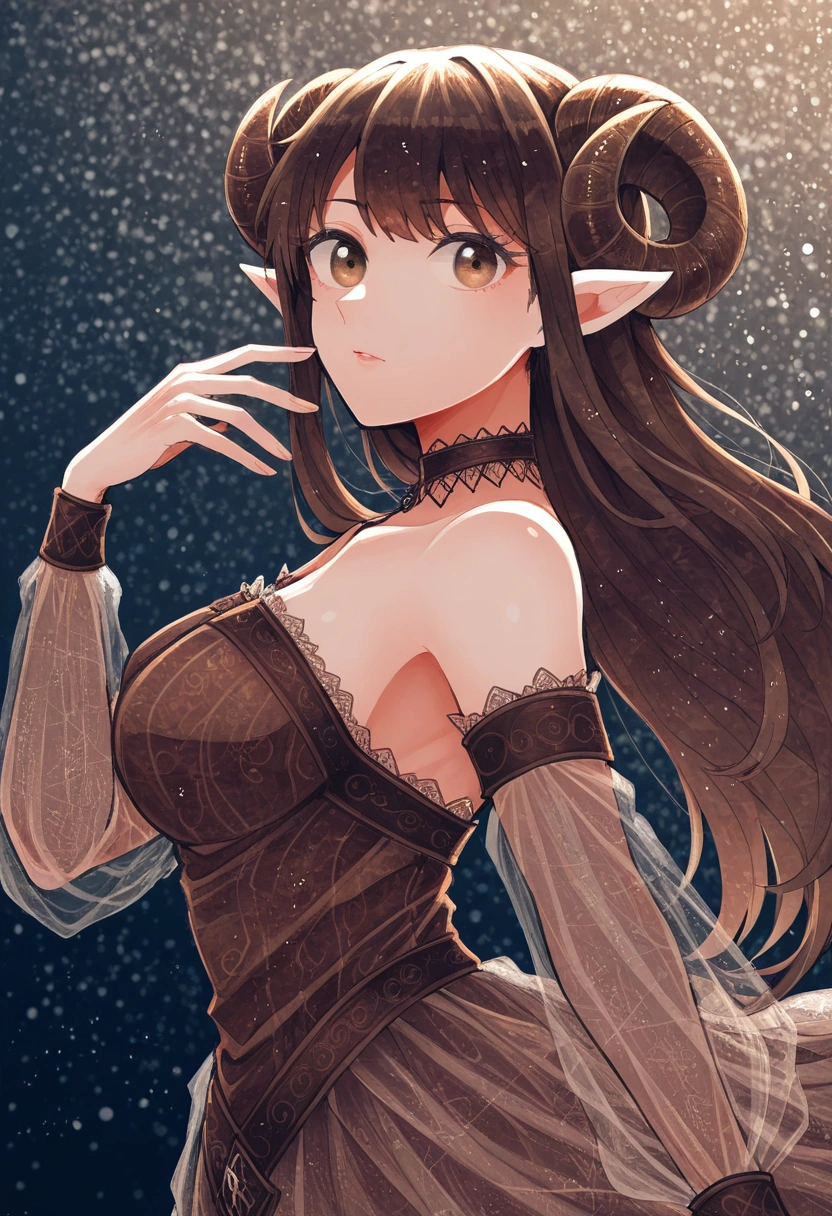 | 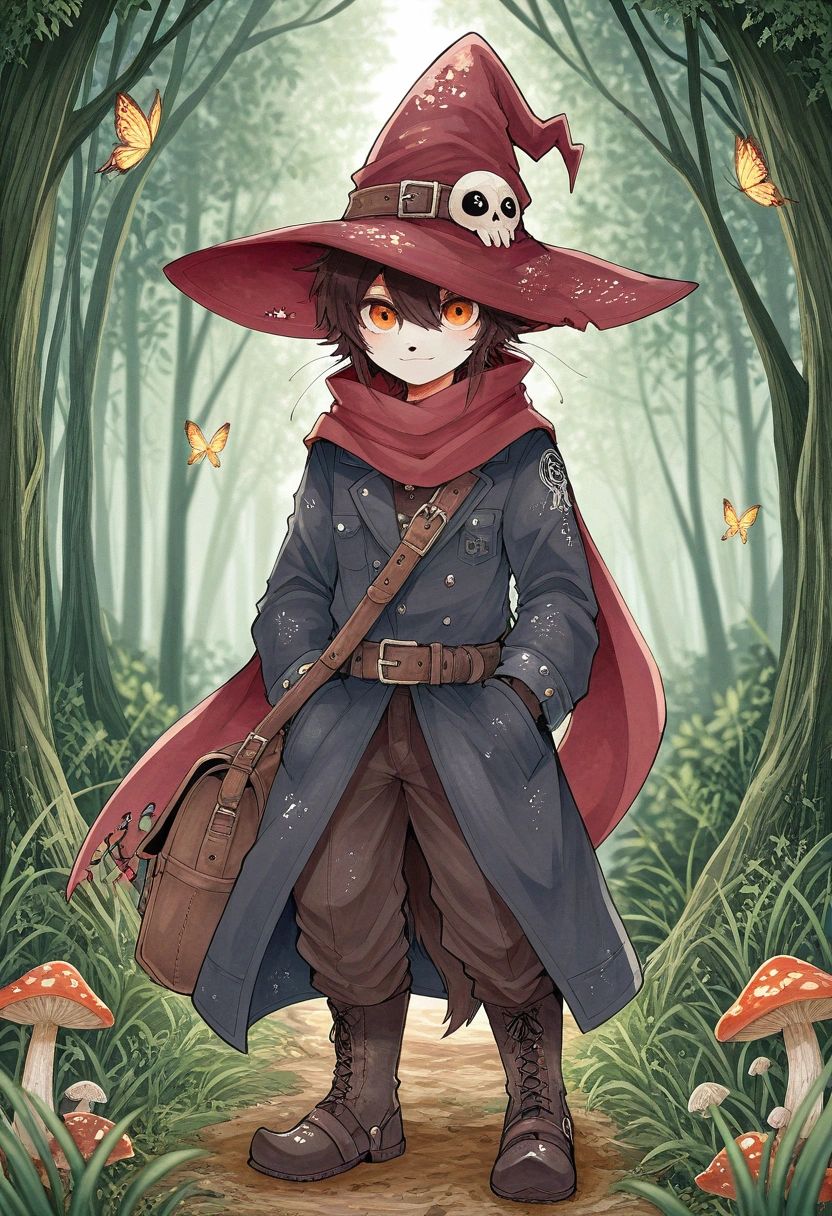 | 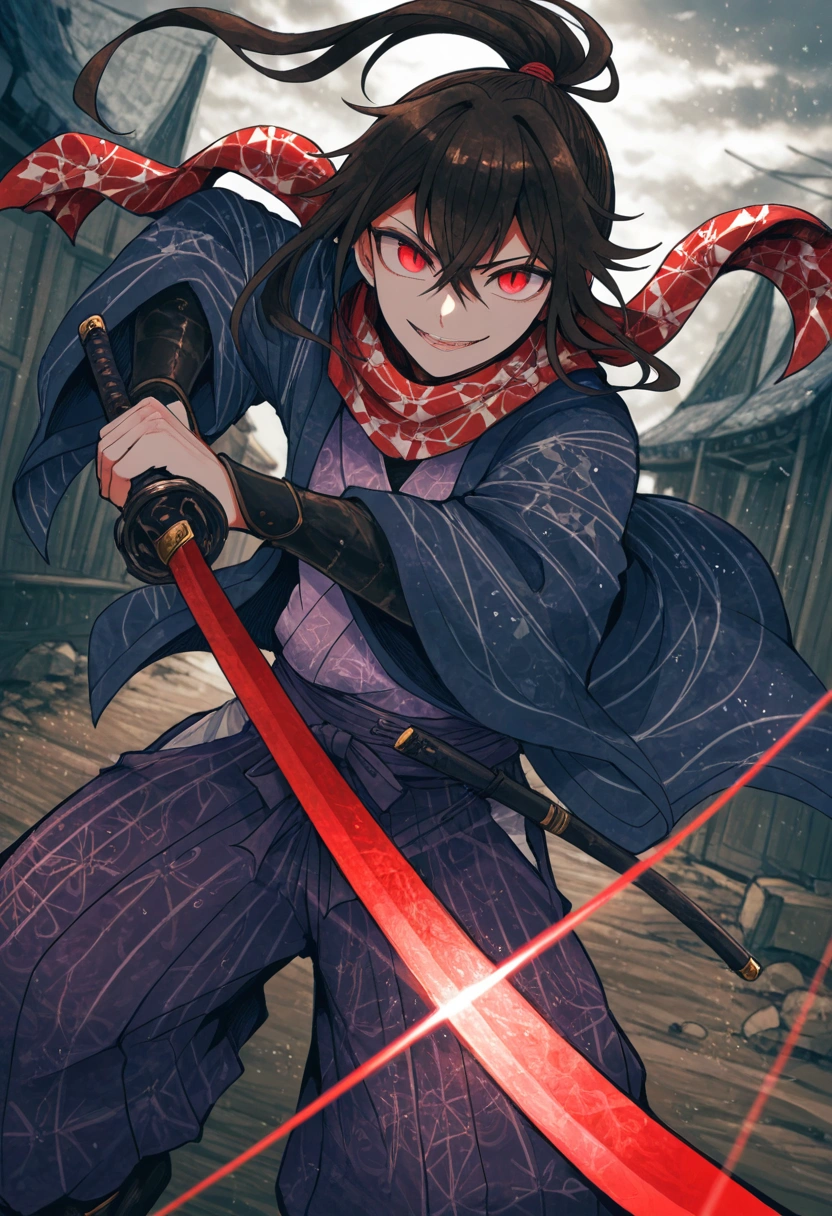 |
| nyantcha | 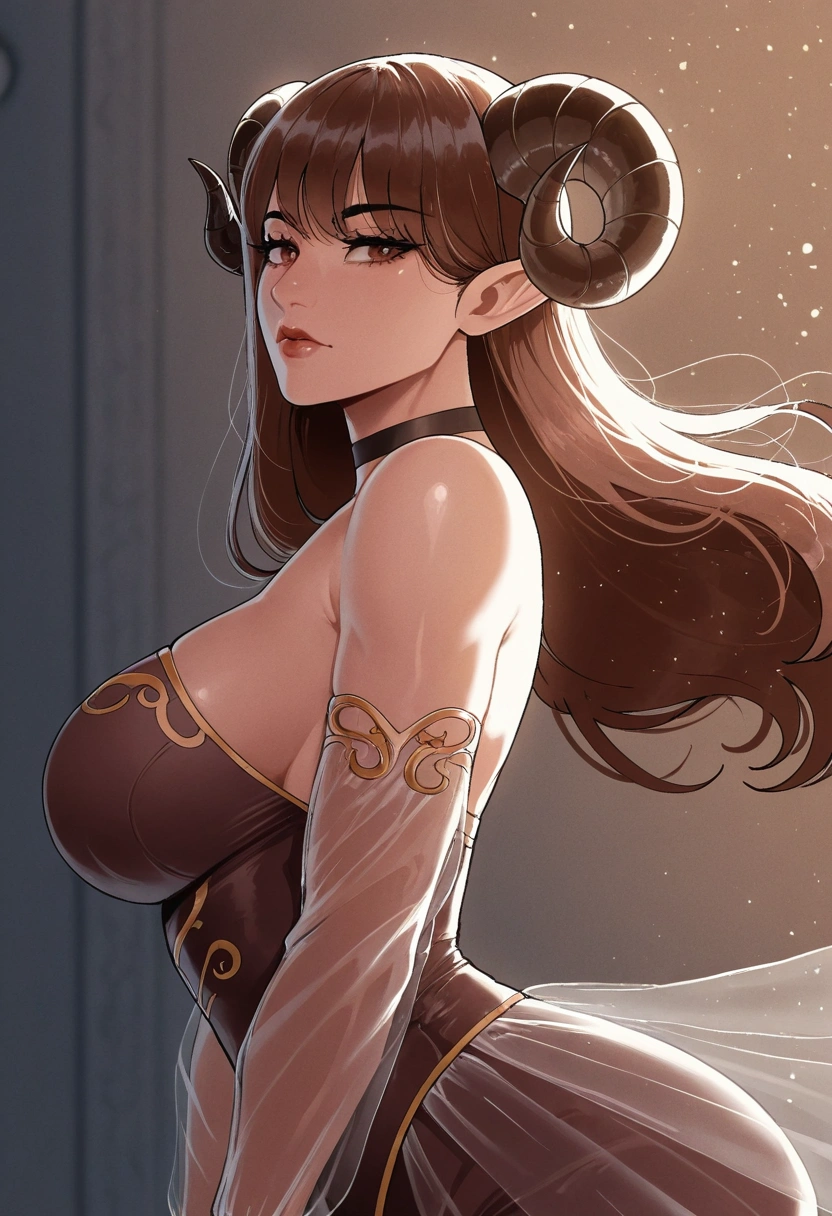 | 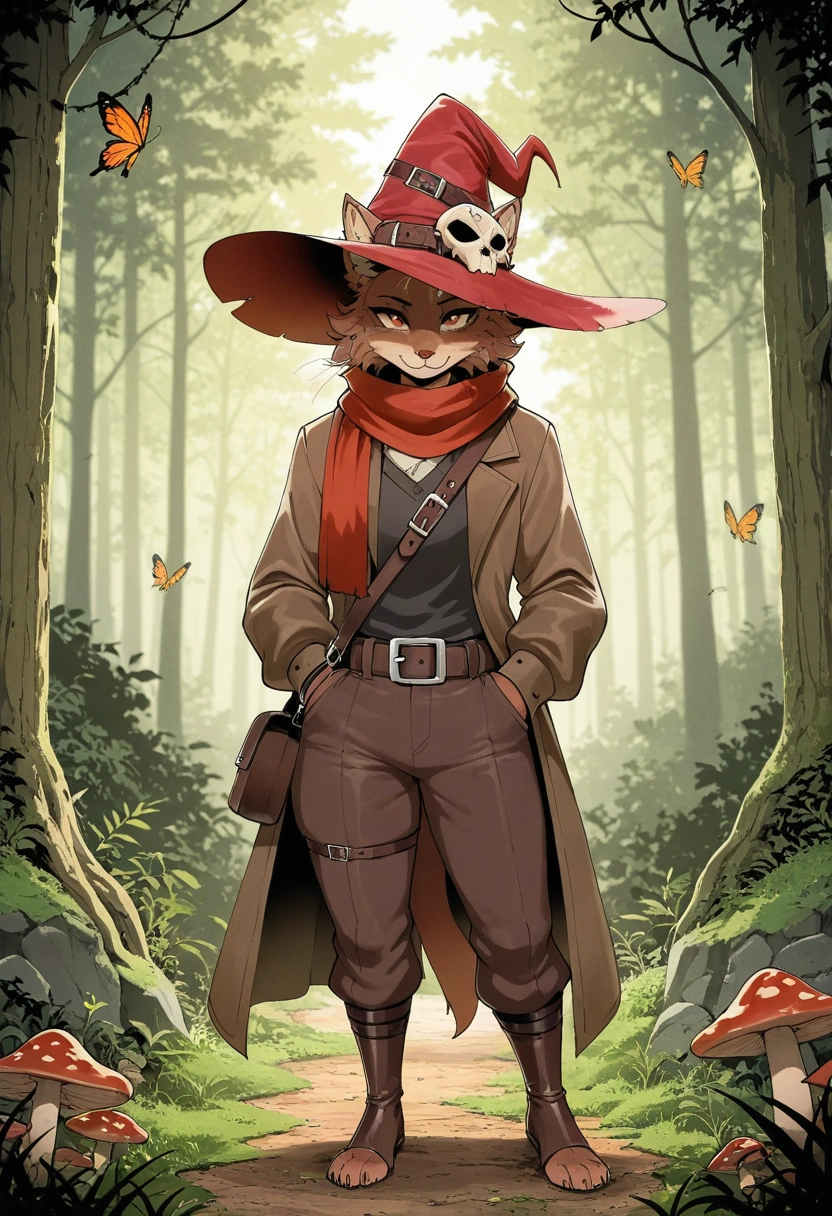 | 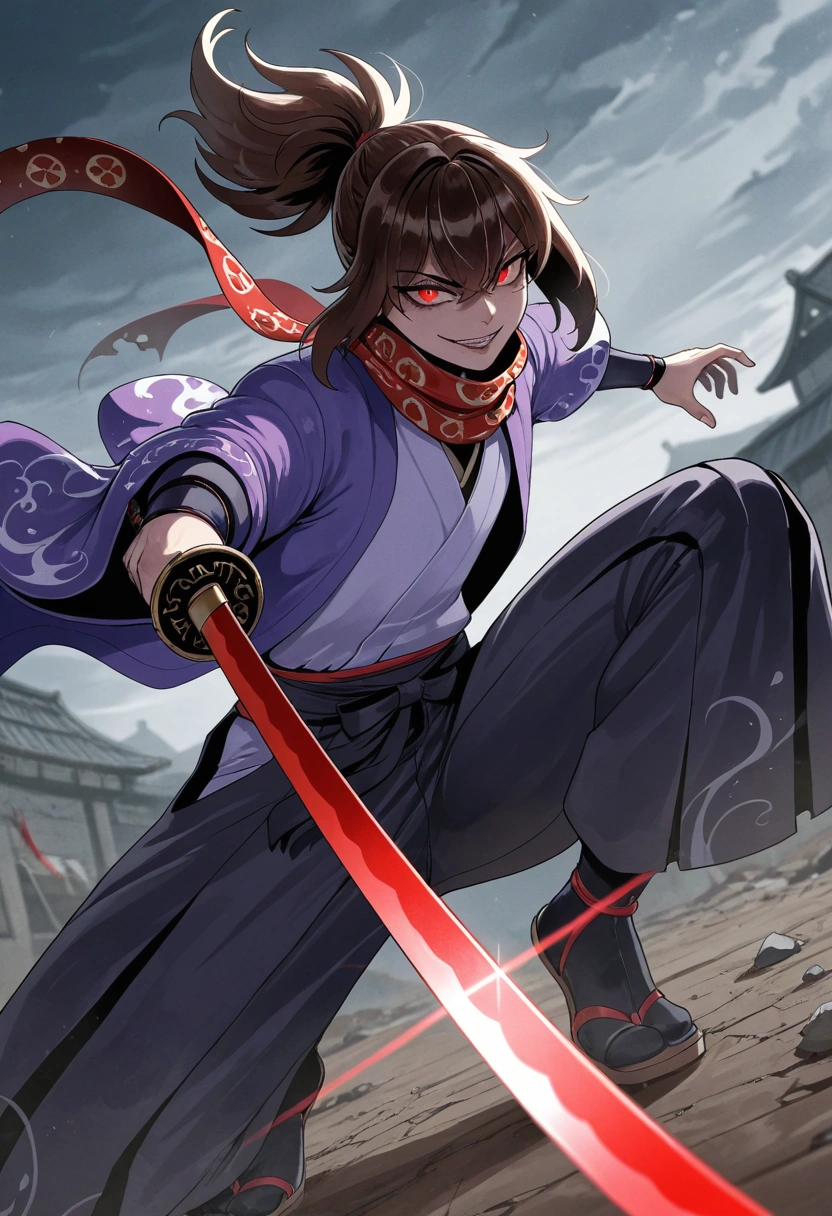 |
| sciamano240 | 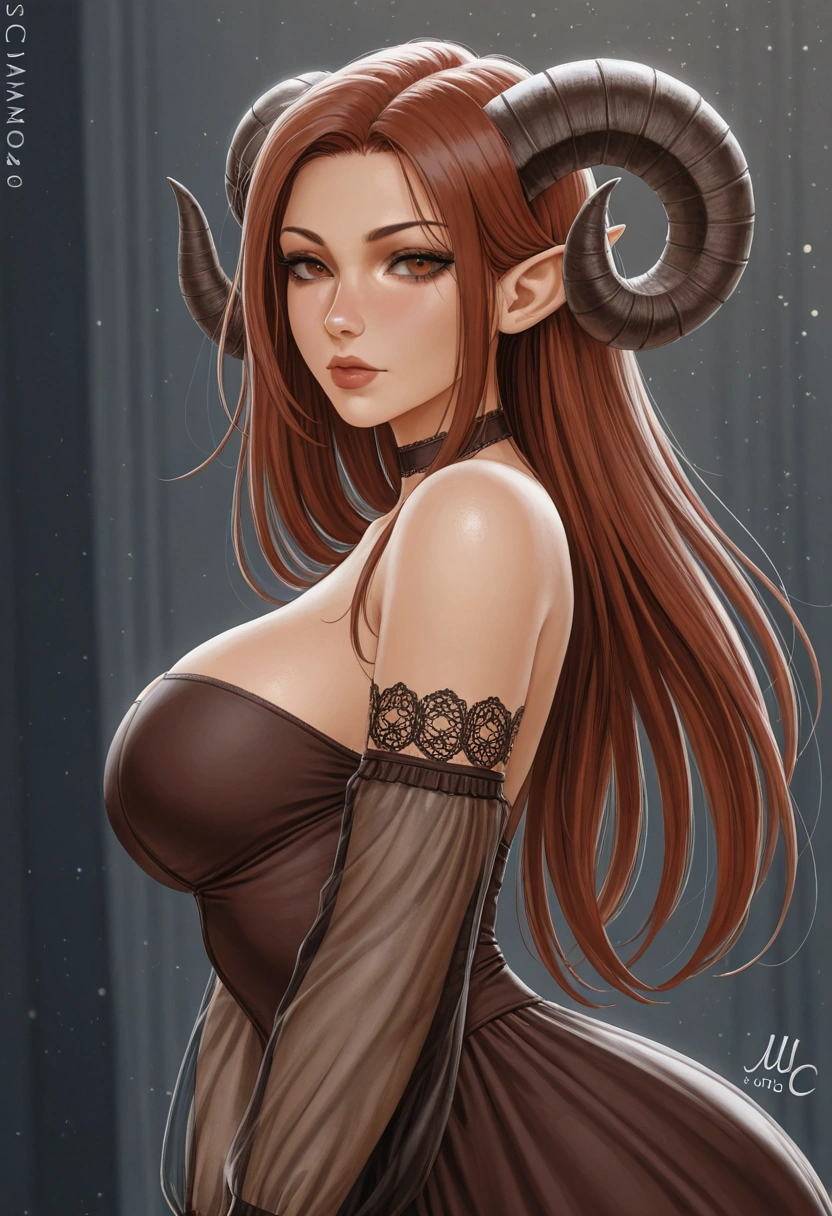 | 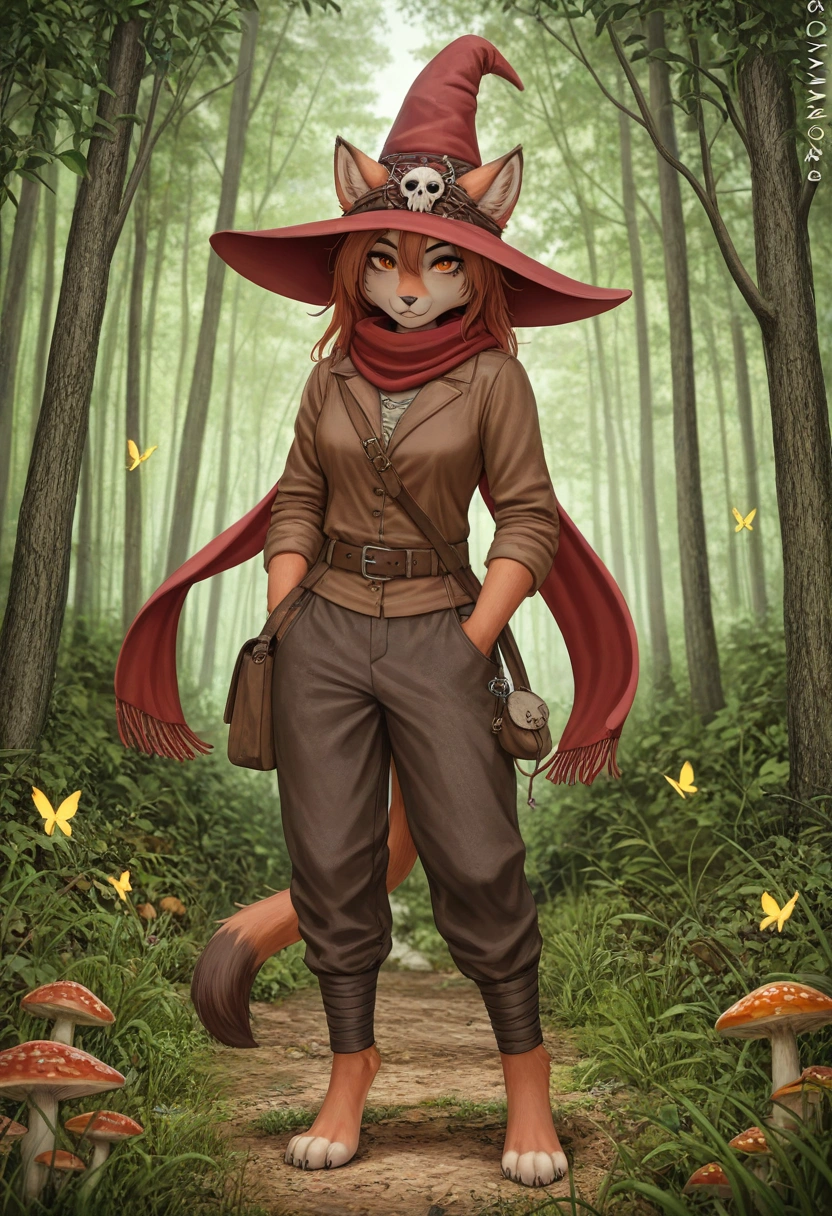 | 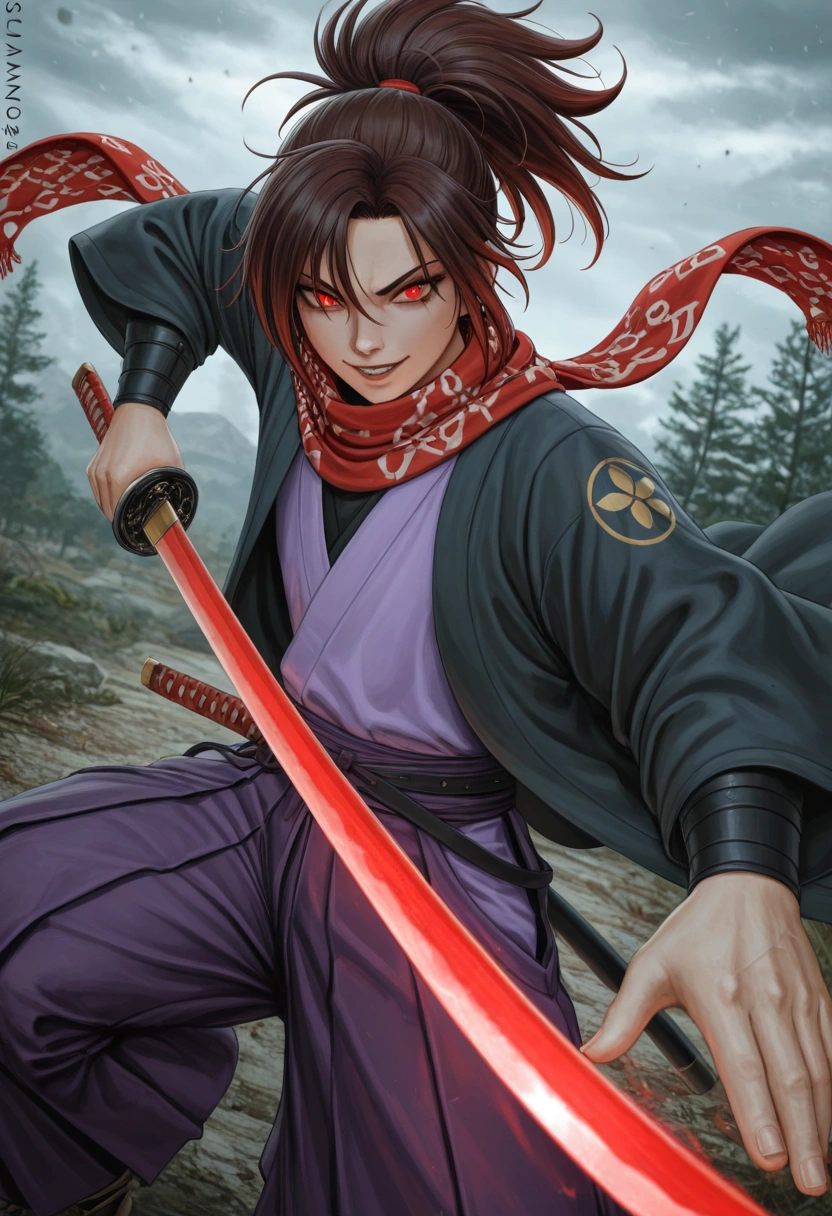 |
| tarakanovich | 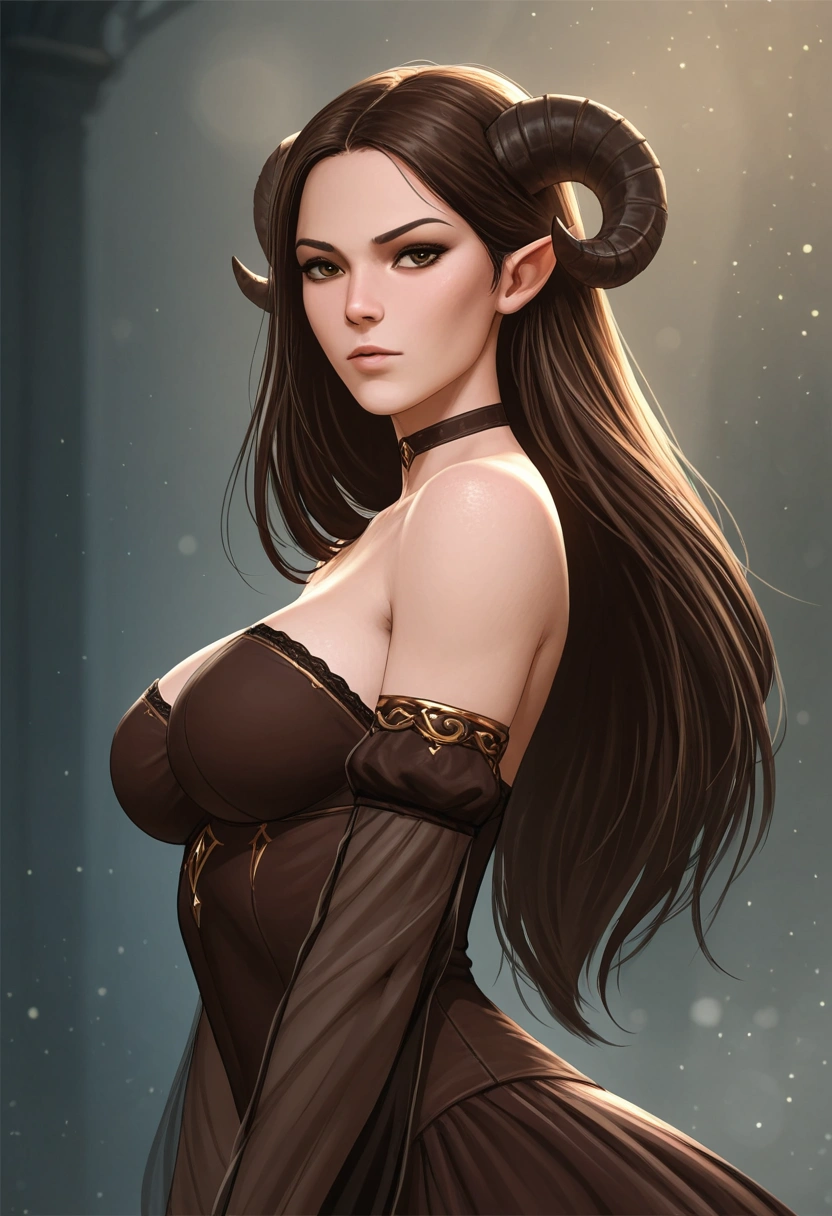 | 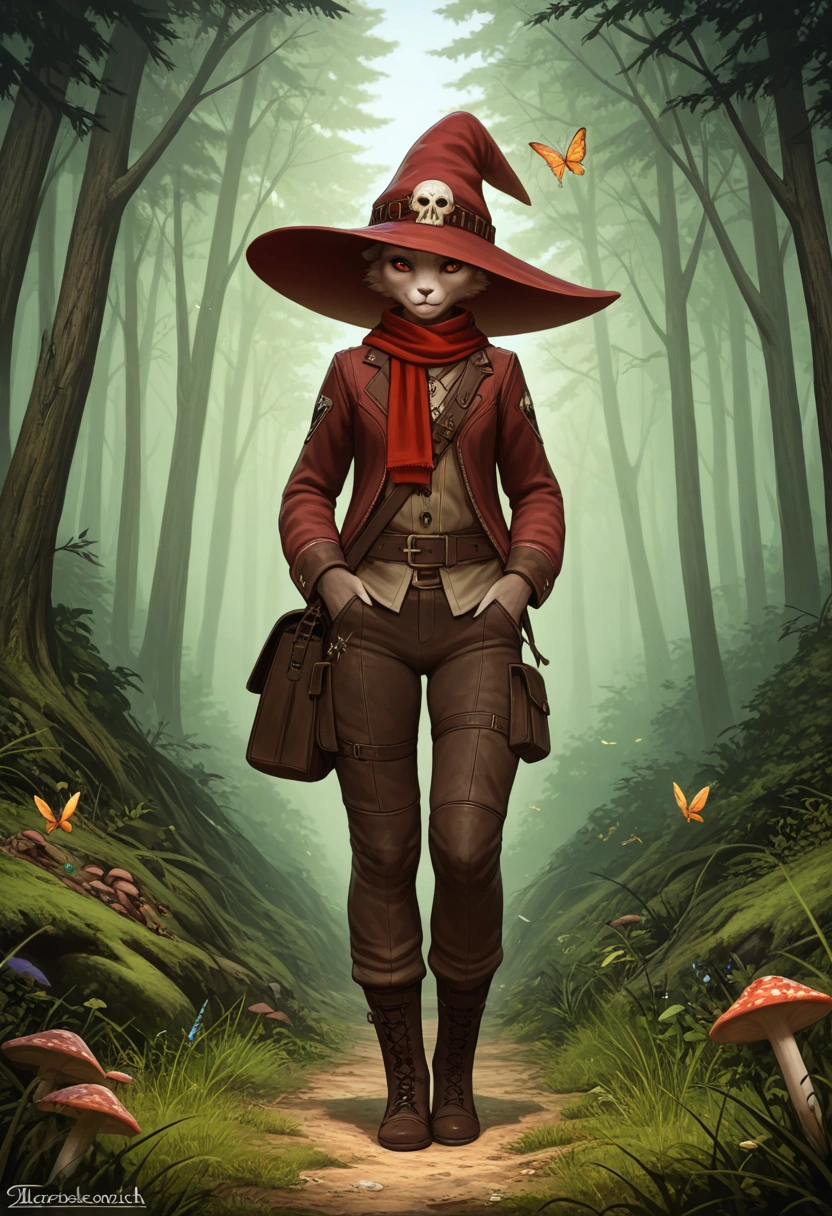 | 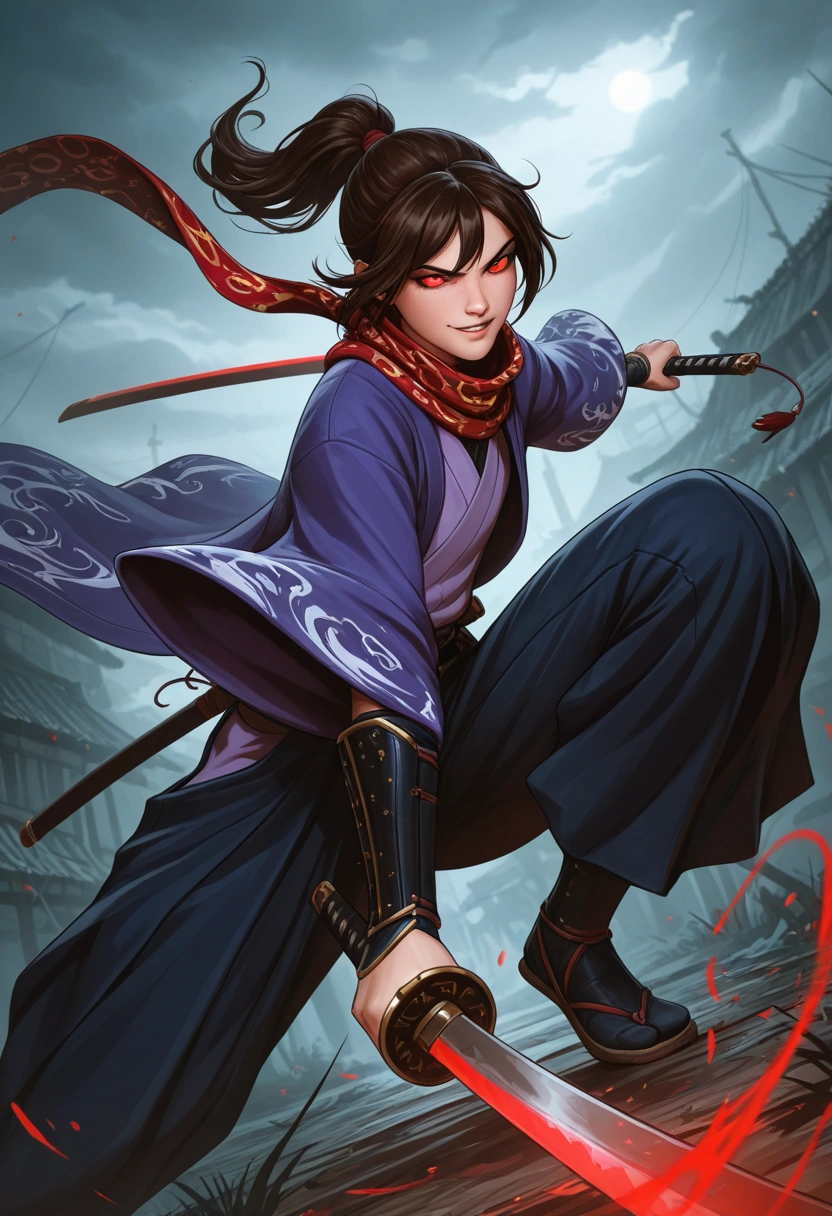 |